How to Set Up a GUI on a VM with Linux on EO-Lab
Desktop environments for Linux allow you to perform any action related to your operating system in a visual way. Its purpose is to supply a complete suite in terms of look, functionality, and usability.
Installing a GUI for basic Ubuntu images requires a specific installation. We have prepared two environments that interact well with the recommended visual remote desktop application -x2GO.
This tutorial will use a machine with preinstalled Ubuntu 20.04.
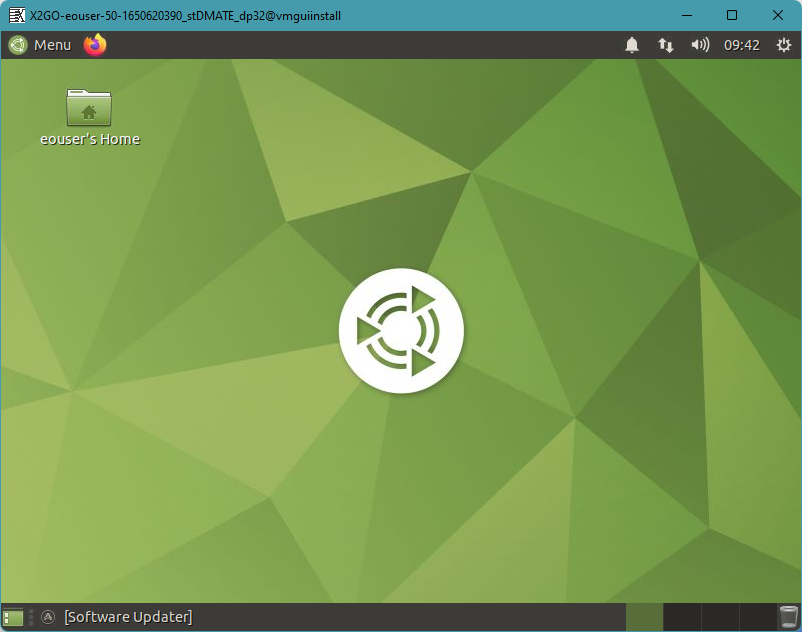
1. Mate
sudo apt-get update
sudo apt upgrade
sudo apt install tasksel
sudo reboot
sudo tasksel install ubuntu-mate-desktop
Theme for Mate:
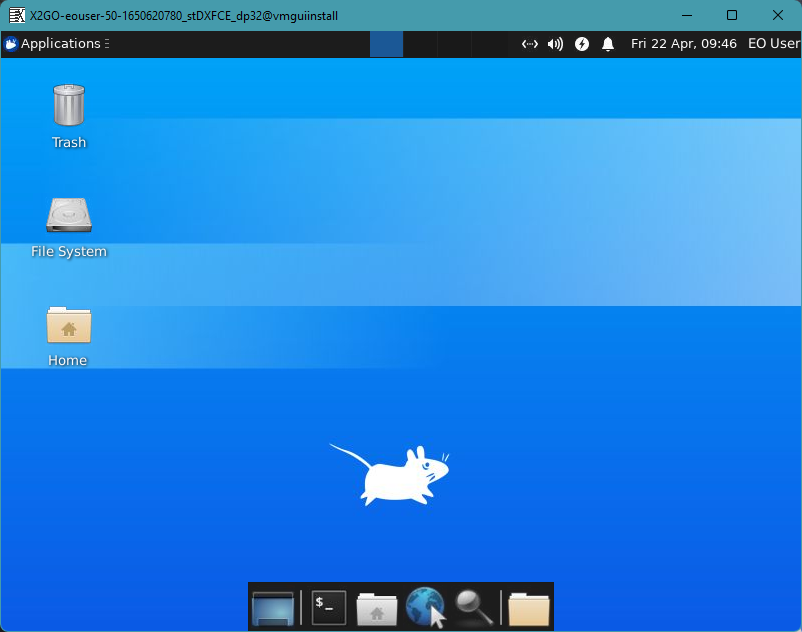
2. XFCE
sudo apt-get update
sudo apt upgrade
sudo apt install tasksel
sudo reboot
sudo tasksel install xubuntu-desktop
Theme for XFCE:
What is X2GO?
X2GO is one of the many solutions for Remote Desktop that works well with both low and high bandwith. For more information, please refer to the official documentation: https://wiki.x2go.org/doku.php/doc:newtox2go
X2GO configuration
Using the console within the Horizon Dashboard may result in bad optimization and an unsynchronized cursor. To improve the whole setup we can install X2GO server on the virtual machine and X2GO client on the computer used to connect to our instance.
Operations on the virtual machine:
sudo apt-get install software-properties-common
sudo add-apt-repository ppa:x2go/stable
sudo apt-get update
sudo apt-get install x2goserver x2goserver-xsession
Operations on the client side:
sudo apt-get install x2goclient
We are now ready to initialize our first session. Launch the X2GO application and have a look at the prompted window:
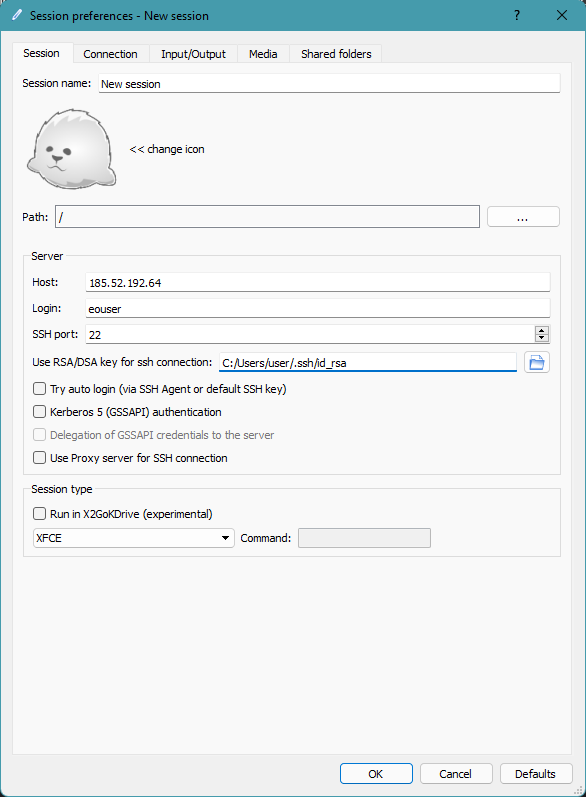
Fill out the required fields:
host: IP of the virtual machine
Login: eouser (account for ssh connection)
SSH port 22 (by default)
Session type: in this case MATE or XFCE (depending on what we installed)
RSA/DSA key for ssh connection: Directory of our private key
Click on “OK”
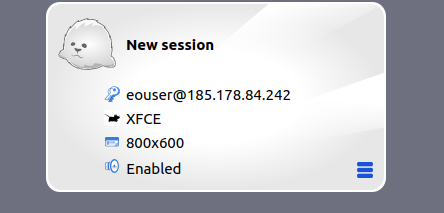
Notice a rectangle with curved edges on your right side. Click on it.
If everything from the previous step was entered correctly, you will encounter a window with the message: Established X server connection. A few seconds later you should have visual access to your virtual machine.