How to Create an SSH Key Pair in Windows?
To create an SSH key pair (private and public key) in Windows you need to install puttygen.exe application. You can download it from https://www.puttygen.com/. After installation please run puttygen.exe
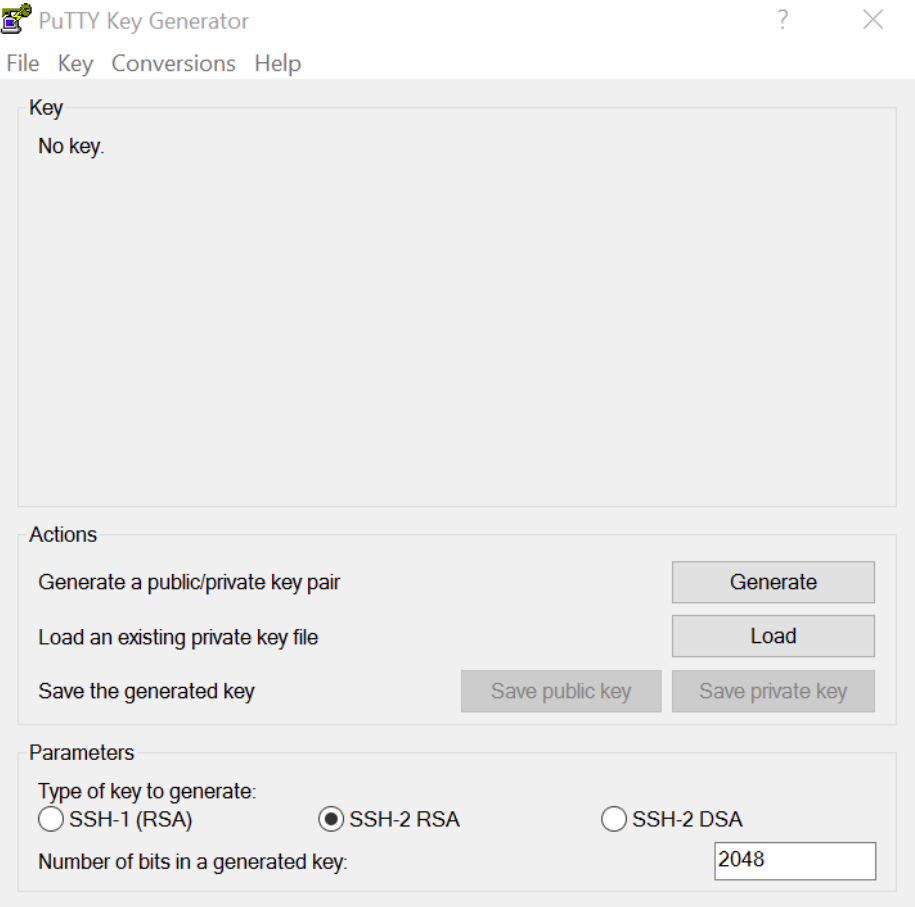
Click the “Generate” button and move the mouse cursor randomly over the blank area.
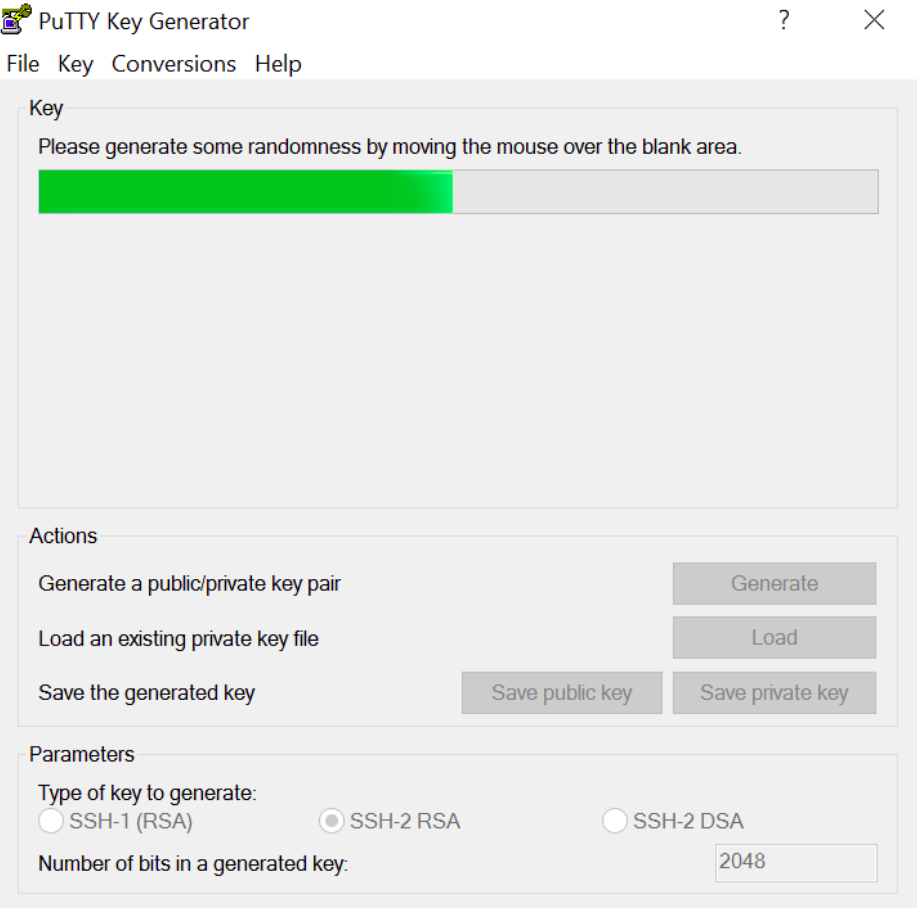
You will see the following screen.
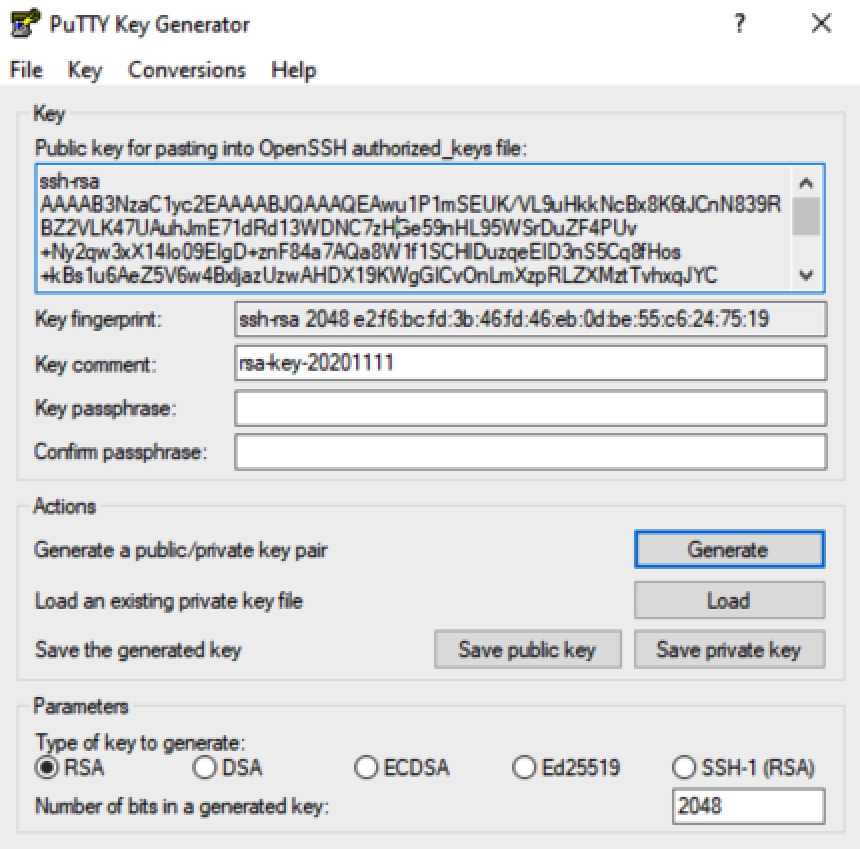
Mark and copy the text from the field below “Public key for pasting into OpenSSH authorized_keys file”. Open the notepad and paste the whole text into a new file.
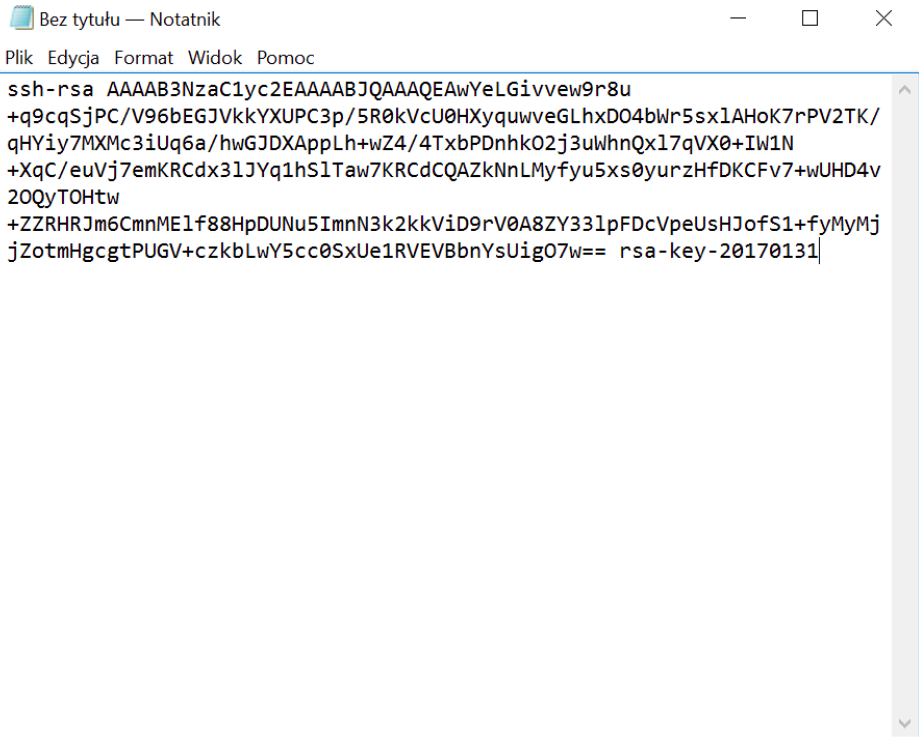
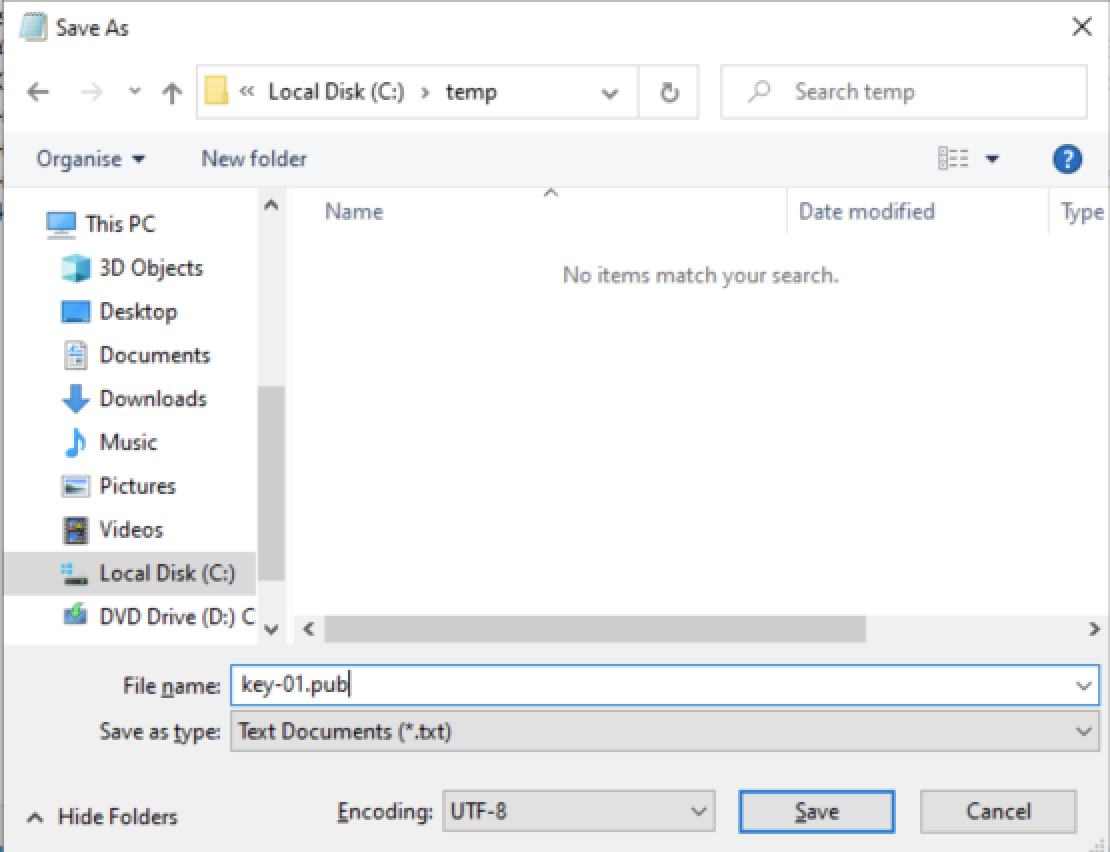
Save the file in the location of your choice (e.g. C:temp) and give the file a name (e.g. key-01.pub).
Note
The above method works well with OpenStack. But if you try to save the public key by clicking “Save public key” in puttygen.exe instead of copy-and-paste and saving with Notepad, the key will not be accepted by OpenStack! It has a different format from that in the field under the title “Public key for pasting into OpenSSH authorized_keys file”!
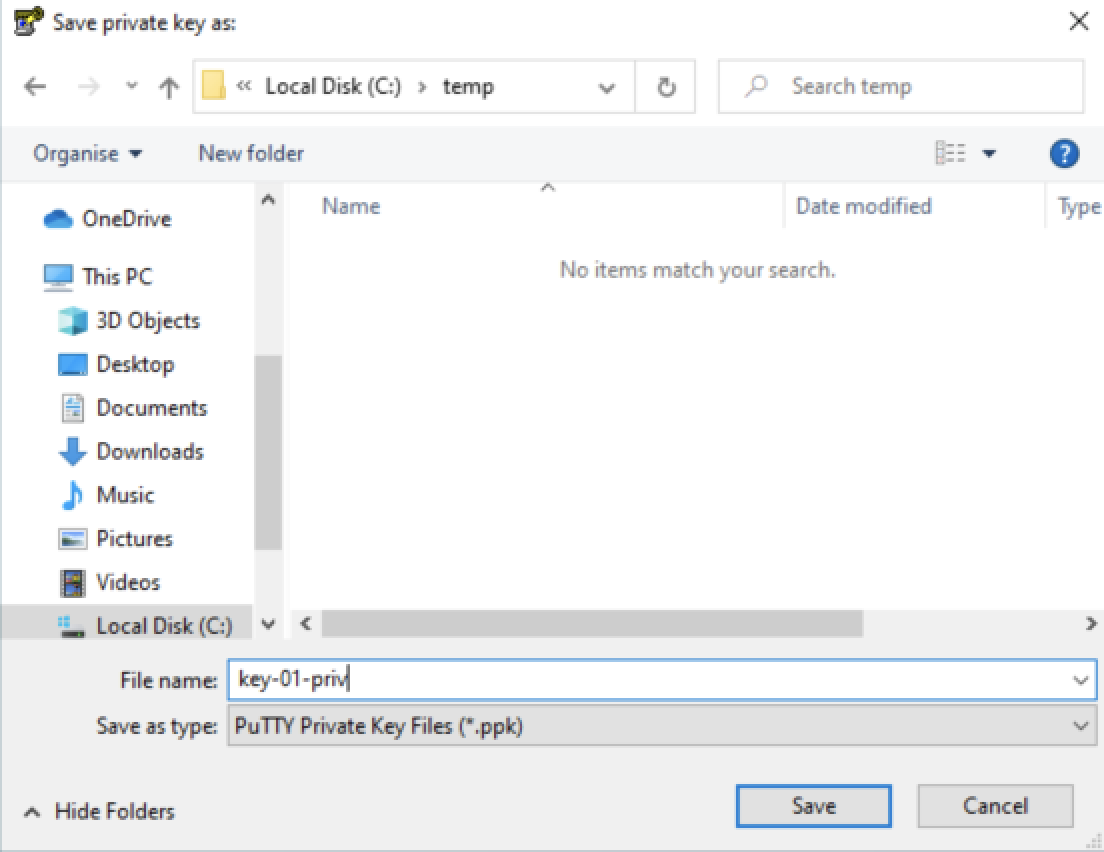
Return to puttygen.exe and click on “Save private key”. Save the private key in the location of your choice (e.g. C:temp). The private key should be saved with the extension .ppk (e.g. key-01-priv.ppk). After finishing the next steps you can use this private key and the puTTY.exe application to log in to the VM.
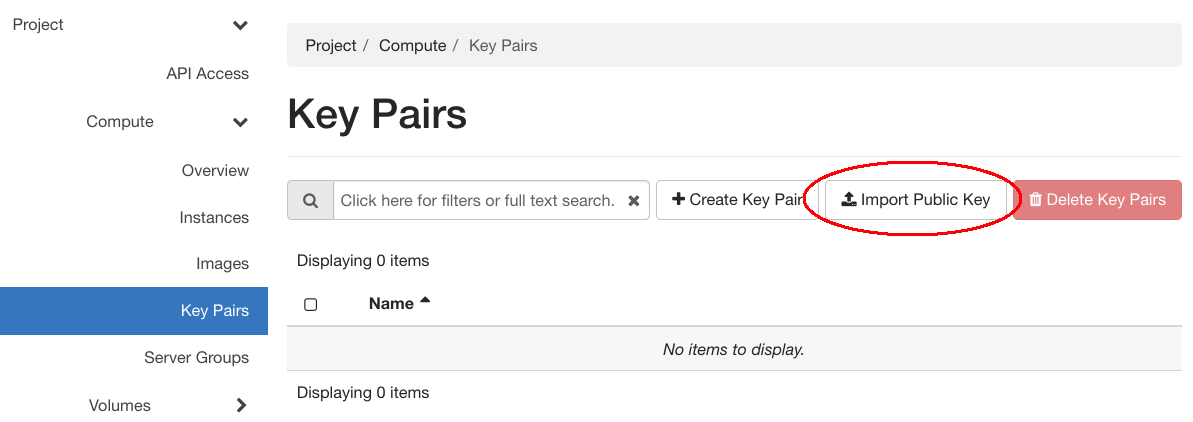
Now login to https://cloud.fra1-1.cloudferro.com/auth/login/?next=/, go to “Compute” -> “Key Pairs” and click “Import Public Key”.
A new window will pop up.
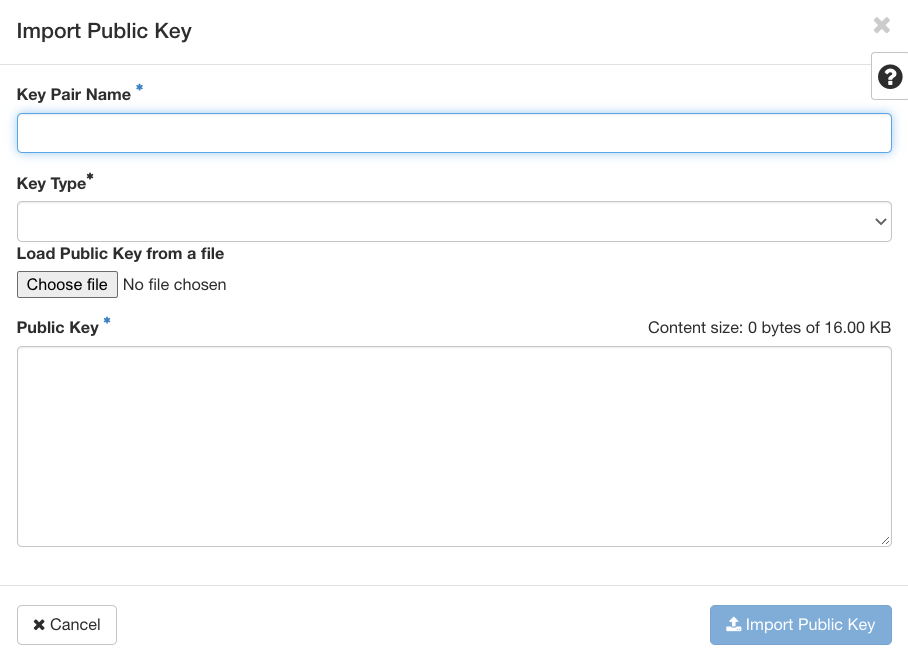
Enter a name for the new key pair (e.g. key-01), select “SSH key” as Key type and copy-and-paste the public key (obtained with puttygen.exe and saved in a separate file) into the Public Key field.
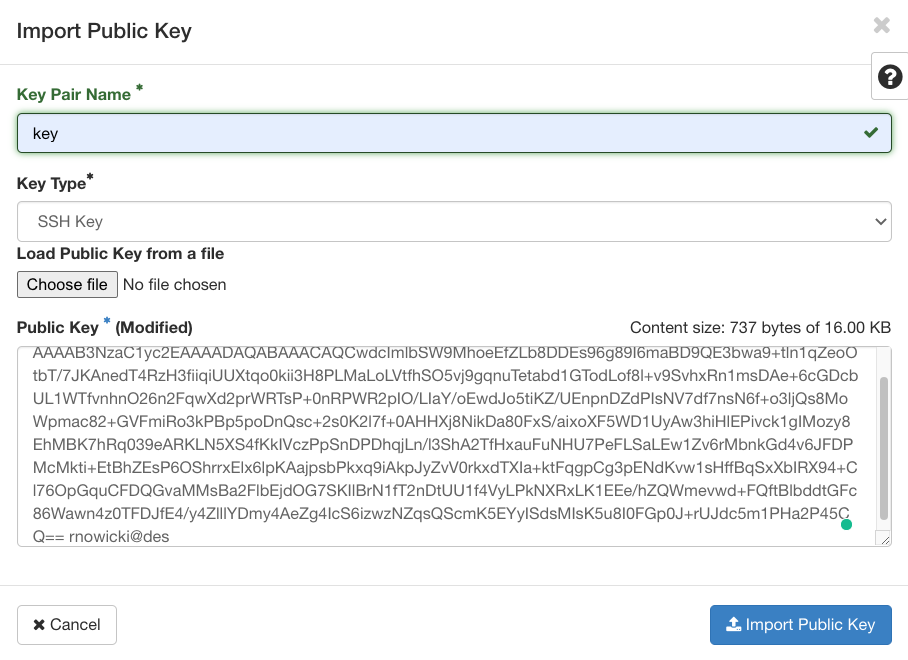
Click the button “Import Public Key”.
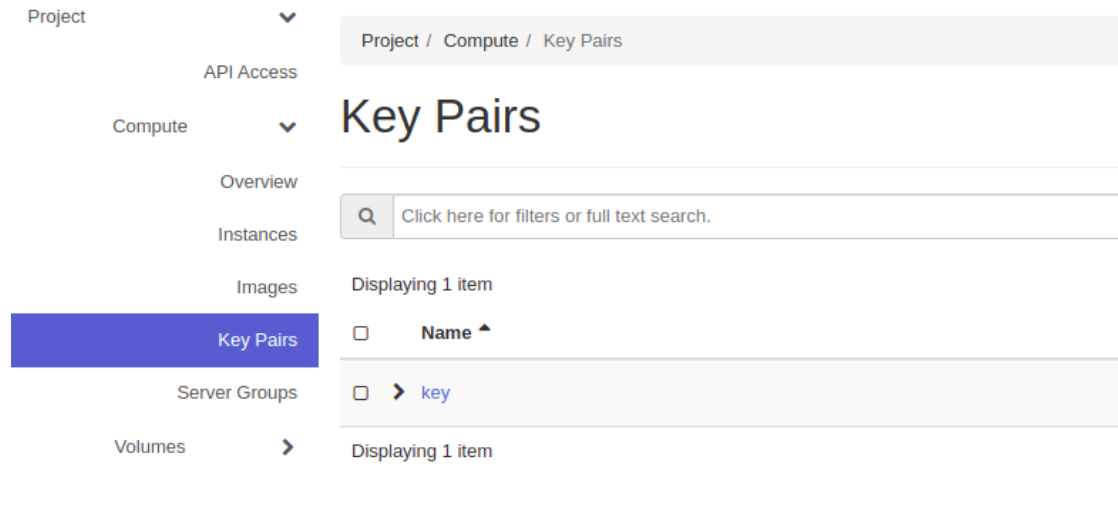
In “Compute” -> “Access & Security” the new Key Pair is now listed.
Now you can use the saved private key and the puTTY.exe application to log in to the VM.