How to create a Linux VM and access it from Linux command line on EO-Lab
Step 1: Login into your account on https://tenant-manager.eo-lab.org/login webpage.

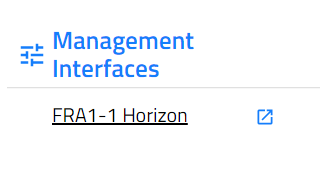
Step 2: On the left bottom side, you can find Management Interfaces, choose FRA1-1 Horizon.
In another one logging step choose EO-Lab and use the same credentials as before.
The second option is Keystone Credentials, if you want to use this option, you have to know your domain. (as below)
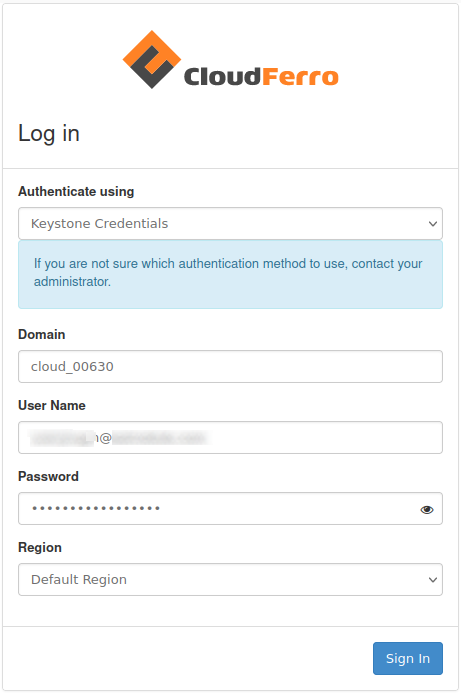
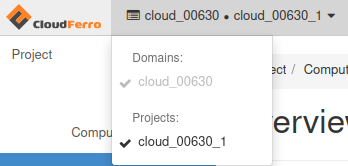
HOW TO FIND THE DOMAIN:
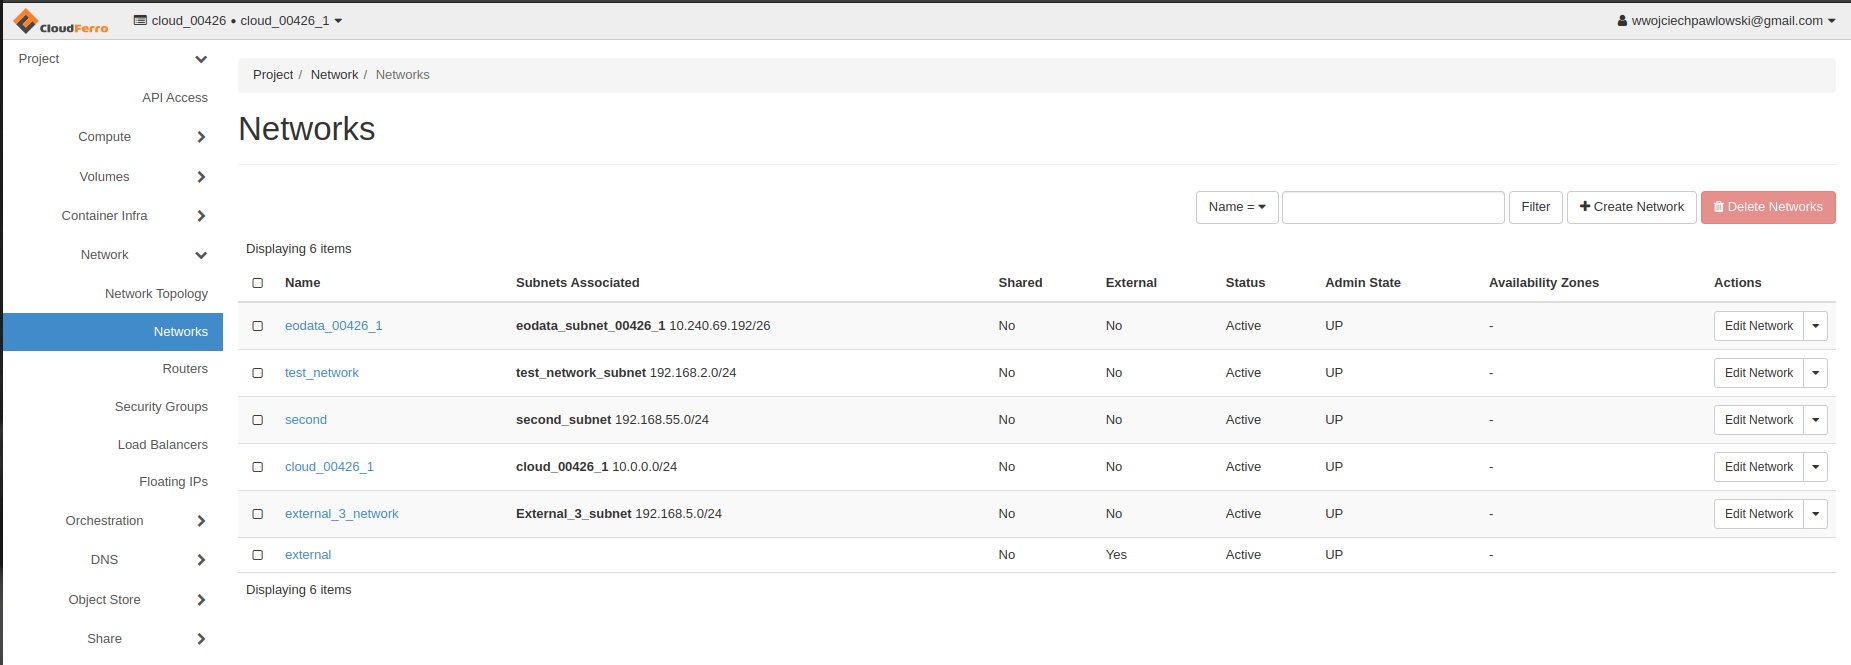
On top right, near the CloudFerro Logo you’ll find your domain name and project that you are recently using. You can create new projects and switching between them.
Step 3: After you’ve successfully logged in, you may start creating your Linux instance.
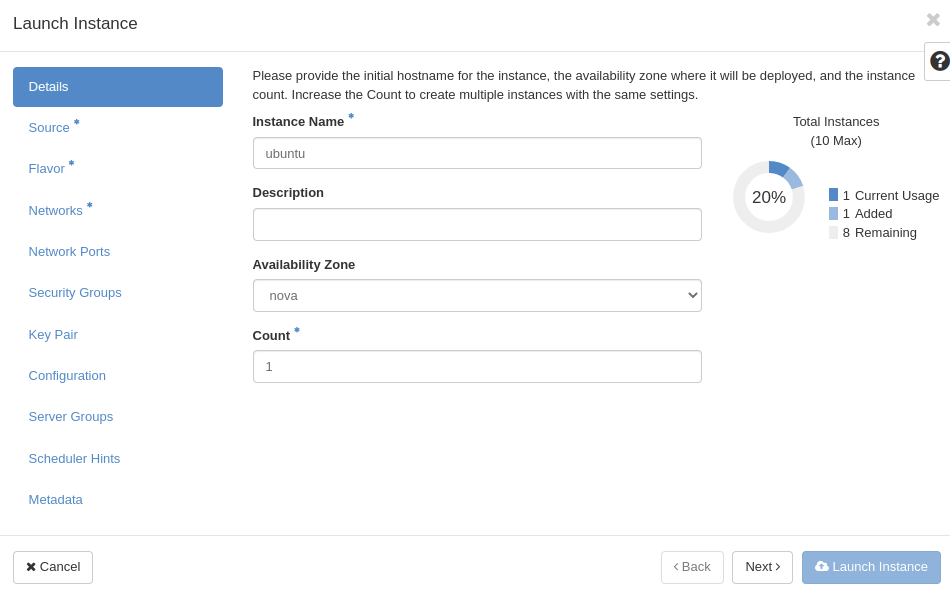
Go to Compute→Instances and click Launch Instance.

In Details tab type Name of your instance and then click next.
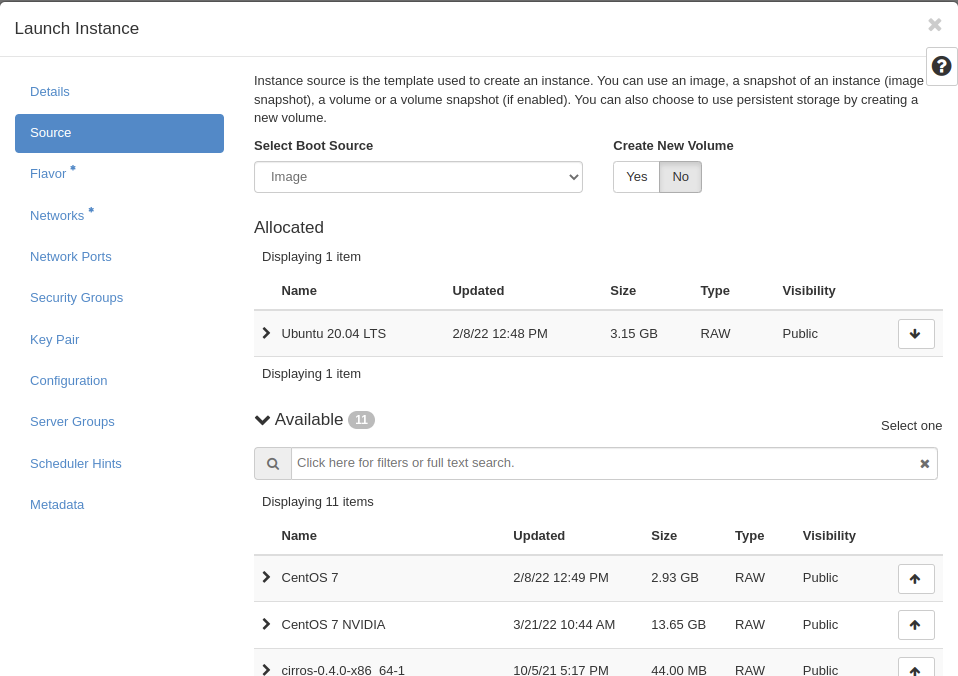
After that, you need to choose the source of your instance. Click one of the up arrows on the right side and allocate one of the following.
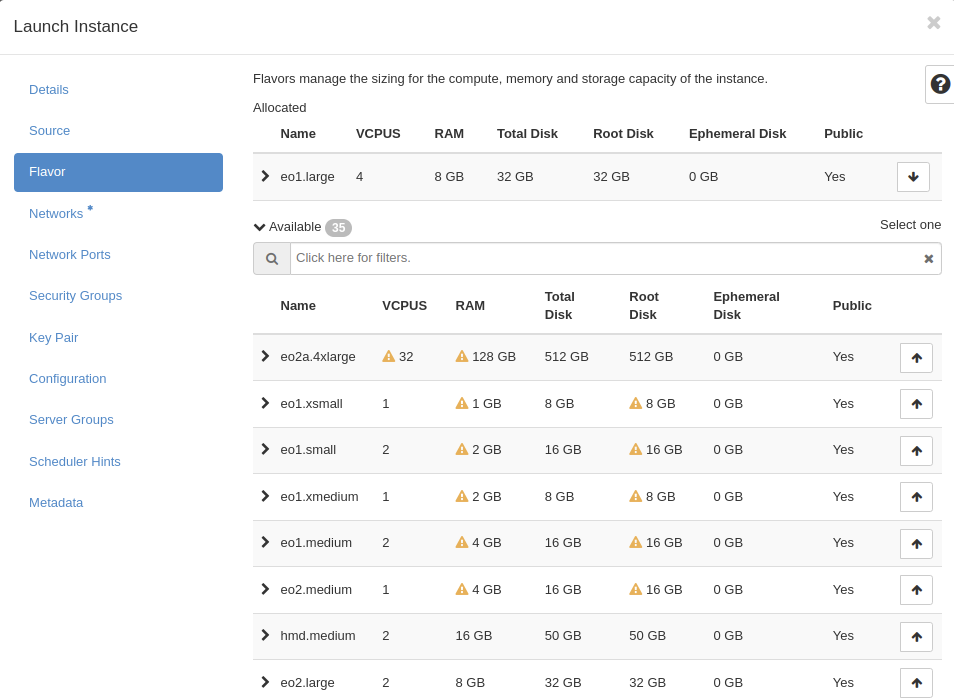
In flavor tab choose one of the available flavours, like step before. If you see yellow warning on flavour you are not able to use this flavour.
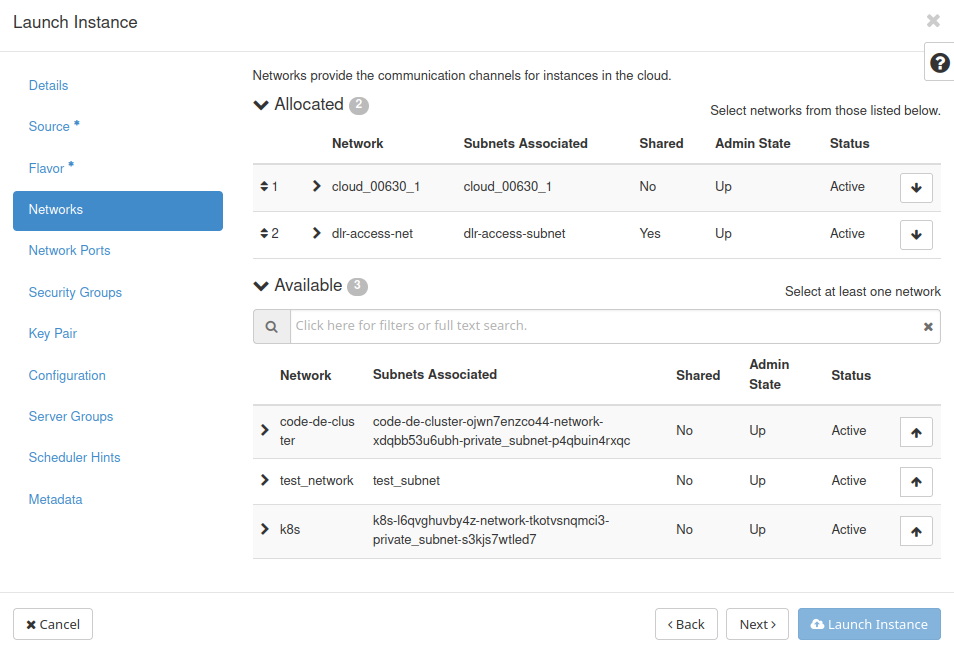
In next tab choose dlr-access-net network, this network gives you access to earth pictures, and another one network called cloud_xxxx this network is default network created with your project.
You can also create your own network in Main Network tab.
If you want to run services or use specified protocols, first you must allocate security groups. Choose two security groups, one called default and other one called cloud_XXXXX_1. They regulate the following ports:
default
        ALLOW IPv6 to ::/0
        ALLOW IPv4 to 0.0.0.0/0
        ALLOW IPv4 from default
        ALLOW IPv6 from default

cloud_00630_1
        ALLOW IPv4 icmp from 0.0.0.0/0
        ALLOW IPv4 22/tcp from 0.0.0.0/0
        ALLOW IPv6 to ::/0
        ALLOW IPv4 to 0.0.0.0/0
A very important thing is to create or import ssh key, it is necessary to connect to your vm via ssh. Create your key and save your private key wherever you want.

Now you can click launch Instance and wait several minutes to launch it right.
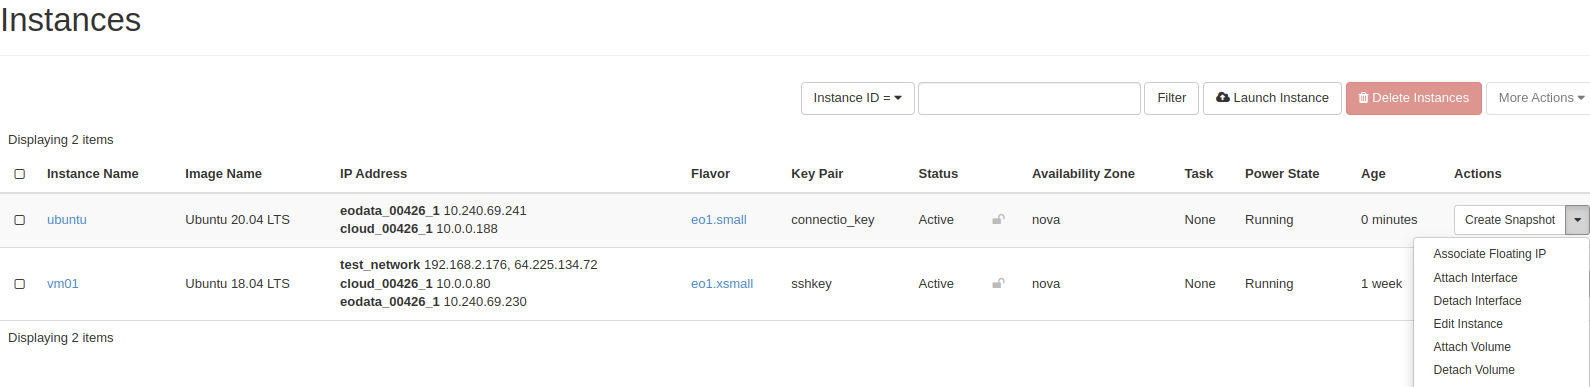
When our instance is working we must Allocate Floating IP (public IP) to it, after this step your VM should be able to connect from other space.
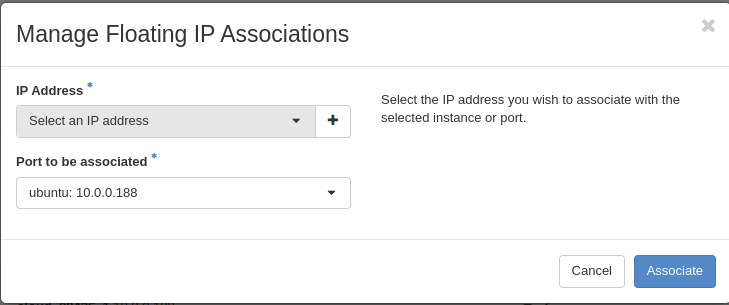
To allocate floating IP you must click “+” (plus) next to Select an IP address. You must also select interface please do not select eodata interface.
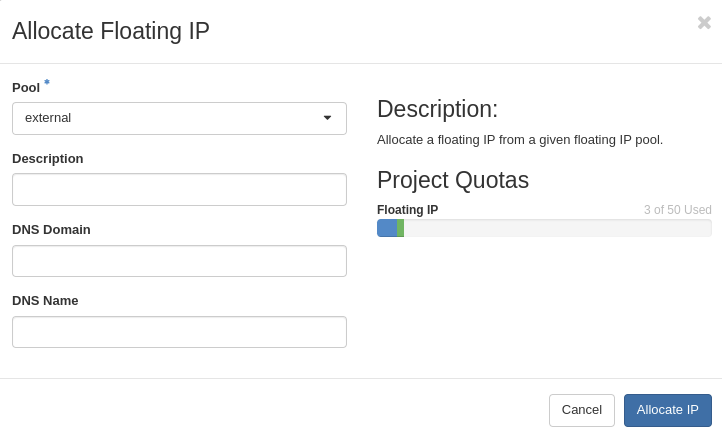
Choose Pool external and click Allocate IP
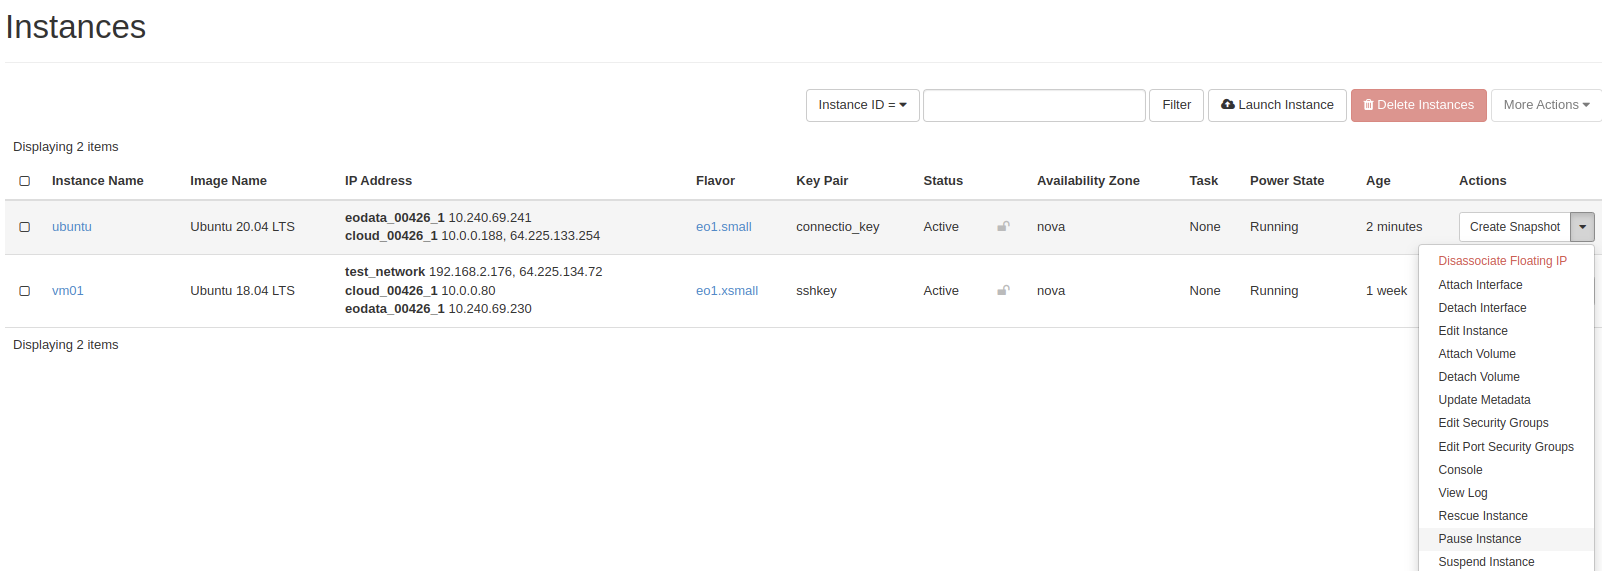
If everything is right you should see public address next to your cloud_xxx network, you can also use console that is implemented in openStack, open pull down menu and choose Console, you can log into it with eoconsole account, but on the beginning you must change password.
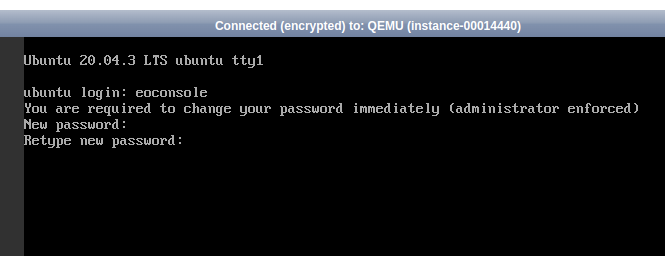
Please be informed that some of common operations like: copying (ctrl+c), pasting (ctrl+v) etc. are not being supported inside the console window.
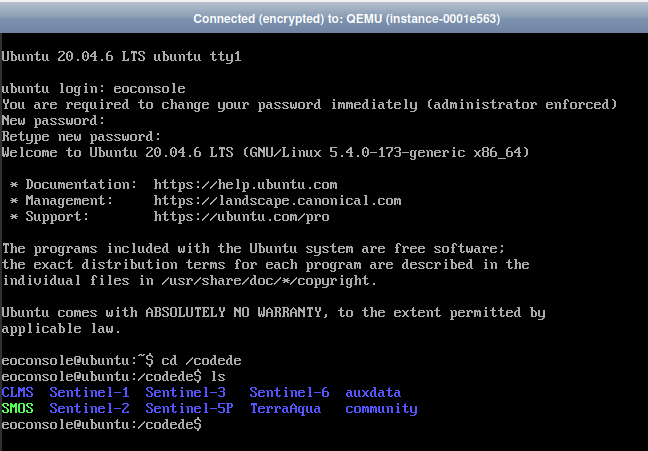
if you successfully logged in to your ubuntu you are able to see eodata files like below:
Warning
Ensure that you use the terminal of your computer to connect to the Linux VM via ssh. Do not use the console for this step.
Step 4: Connect to your Linux VM via ssh using Linux command line.
To connect first thing that you have to do is set special rights to your private key, that you saved before, and then move it to ~/.ssh folder.
Use following commands:
johndoe@johndoe:~$ chmod 600 <file_with_private_key>
and then move or copy it to ~/.ssh folder
johndoe@johndoe:~$ mv <file_with_private_key> ~/.ssh
In my case my connection key is named connection_key
johndoe@johndoe:~$ chmod 600 connection_key
johndoe@johndoe:~$ mv connection_key ~/.ssh
Use commands:
johndoe@johndoe:~$ cd ~/.ssh
johndoe@johndoe:~/.ssh sudo ssh -i <file_with_private_key> eouser@<public_ip>
to make a connection. Also, when you are logging for the first time you must type yes and confirm.
johndoe@wjohndoe:~/.ssh$ ssh -i connection_key eouser@91.234.10.67
The authenticity of host '91.234.10.67 (91.234.10.67)' can't be established.
ECDSA key fingerprint is SHA256:mUxvlFP+u9XAZwMWe4CH6U6Vs/RtwpliwF+RKUEVaR8.
Are you sure you want to continue connecting (yes/no/[fingerprint])? yes
Warning: Permanently added '91.234.10.67' (ECDSA) to the list of known hosts.
Welcome to Ubuntu 20.04.4 LTS (GNU/Linux 5.4.0-124-generic x86_64)

* Documentation:  https://help.ubuntu.com
* Management:     https://landscape.canonical.com
* Support:        https://ubuntu.com/advantage

The programs included with the Ubuntu system are free software;
the exact distribution terms for each program are described in the
individual files in /usr/share/doc/*/copyright.

Ubuntu comes with ABSOLUTELY NO WARRANTY, to the extent permitted by
applicable law.

To run a command as administrator (user "root"), use "sudo <command>".
See "man sudo_root" for details.

eouser@ubuntu:~$
You’re now connected to the VM, also you have now access to eodata files.