How to Start a VM From a Snapshot on EO-Lab
a) Volume Snapshot
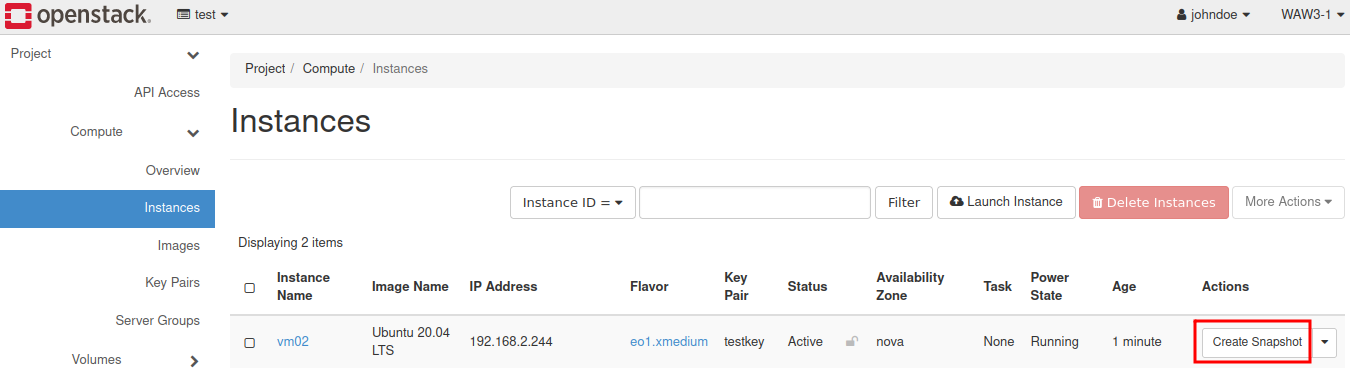
Choose the desired virtual machine (booted from Volume) and click on the “Create snapshot” button.

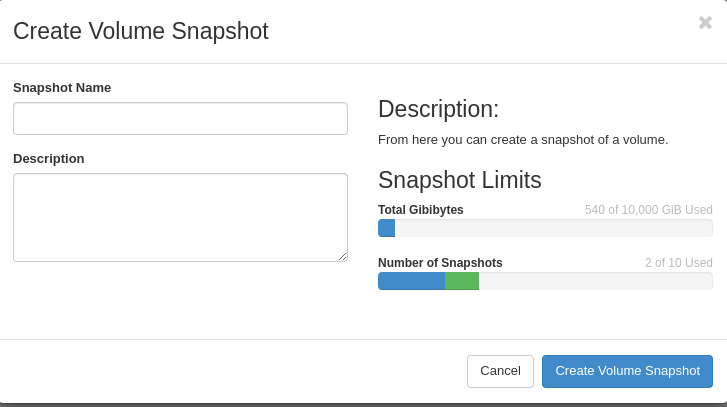
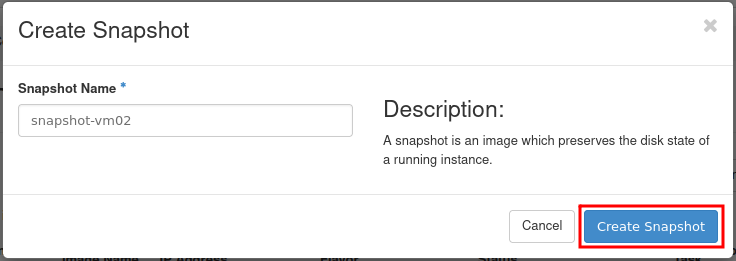
Set a name for the snapshot and confirm with the blue button.
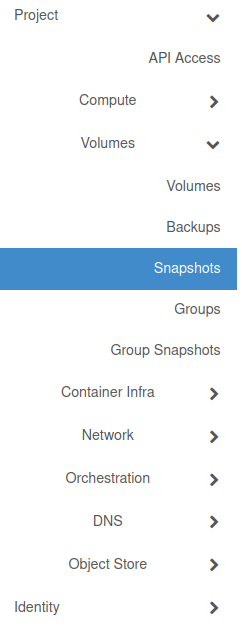
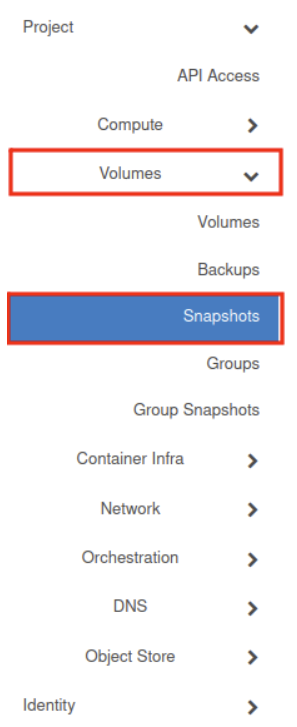
Go to the Volumes tab and click on Snapshots.
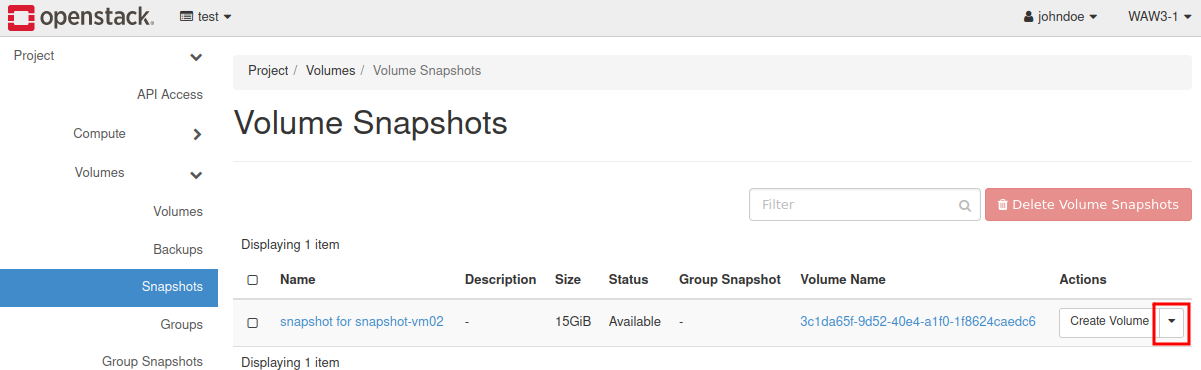
This is where your snapshots are stored. To start a virtual machine from this type of snapshot, click on the arrow beside “Create Volume”.
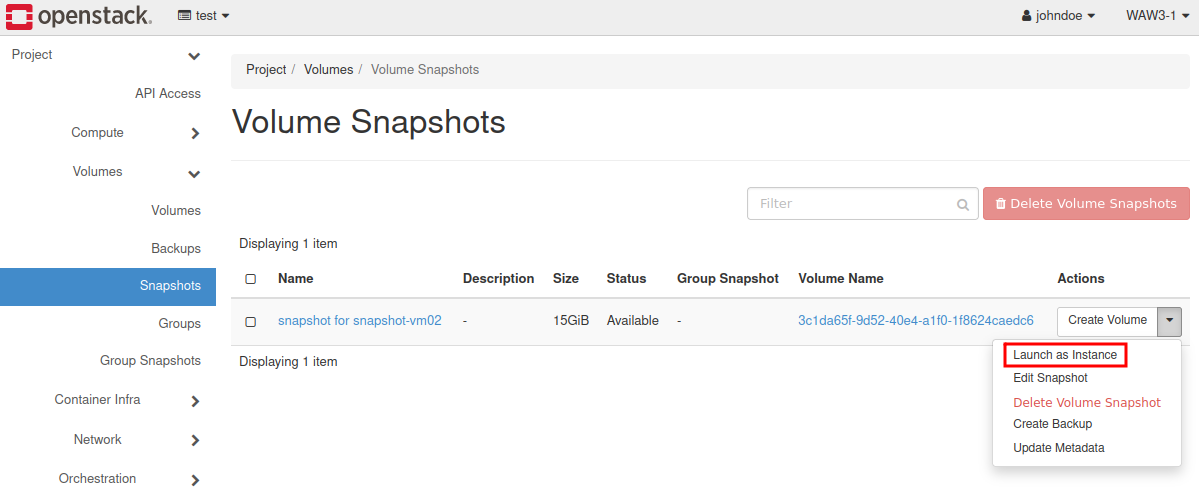
Next, choose“Launch as Instance”.
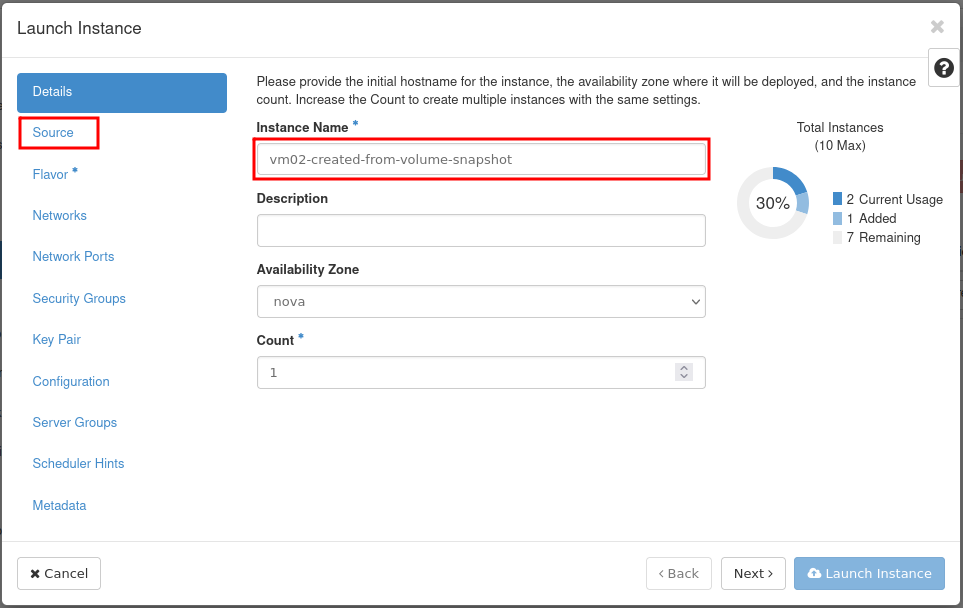
Set the Instance name and change bookmark to “Source”.
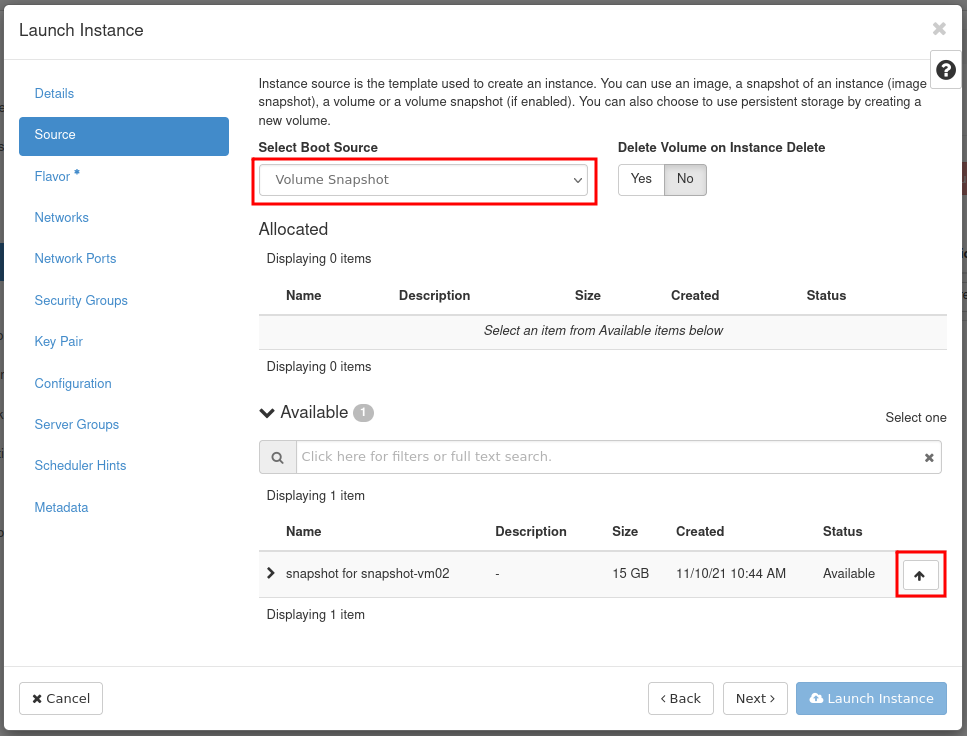
Set Boot Source to “Volume Snapshot” and select the previously created snapshot by clicking on the arrow:
The rest of the procedure is the same, please see here: How to Create New Linux VM in OpenStack Dashboard Horizon on EO-Lab.
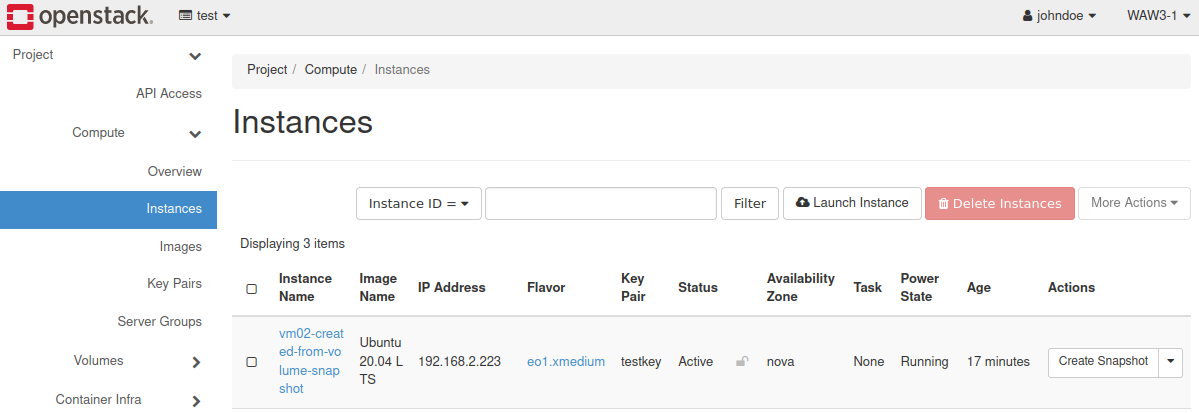
The newly created VM will be visible in the Instances list.
b) Image Snapshot
Choose the desired virtual machine and click on the “Create snapshot” button.
Set a name for the snapshot and confirm with the blue button.
Go to Volumes tab and press Snapshots.
Scroll down and find your snapshot. Click on the “Launch”.
Attention
Image snapshot is in RAW format and its size is equivalent to the image that VM was booted from. In the “Images” you may also find symbolic links to the volume snapshots.(i.e. snapshot-virtual-machine-01 from a) scenario). This type of snapshot is in format QCOW2 and its size is set on 0 bytes.
Name your virtual machine and go to “Source.” Set Boot Source on “Instance snapshot” and choose previously created Snapshot in RAW format.
The rest of the procedure is the same, please see here: How to Create New Linux VM in OpenStack Dashboard Horizon on EO-Lab.
Virtual machine has been created.