How to Clone Existing and Configured VMs on EO-Lab
The simplest way to create a snapshot of your machine is using “Horizon” - the graphical interface of the OpenStack dashboard.
This will be a two-step process:
Creating a snapshot
Creating a VM using that snapshot
To get started, please visit our website https://cloud.fra1-1.cloudferro.com/auth/login/?next=/ and login.
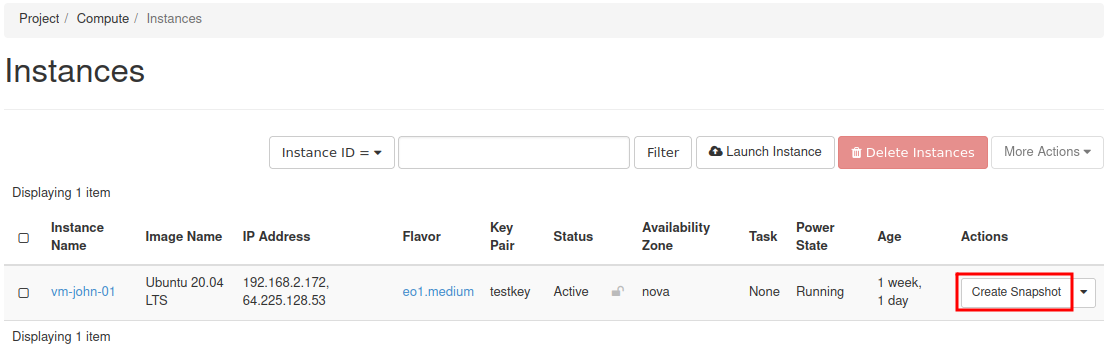
After logging in, navigate to the “Instances” menu, select the VM to be cloned, and create its snapshot by selecting it in the “Actions” Menu.
Once the snapshot is ready, you can see it on the “Images” page of Horizon. Click on its name to see its properties.
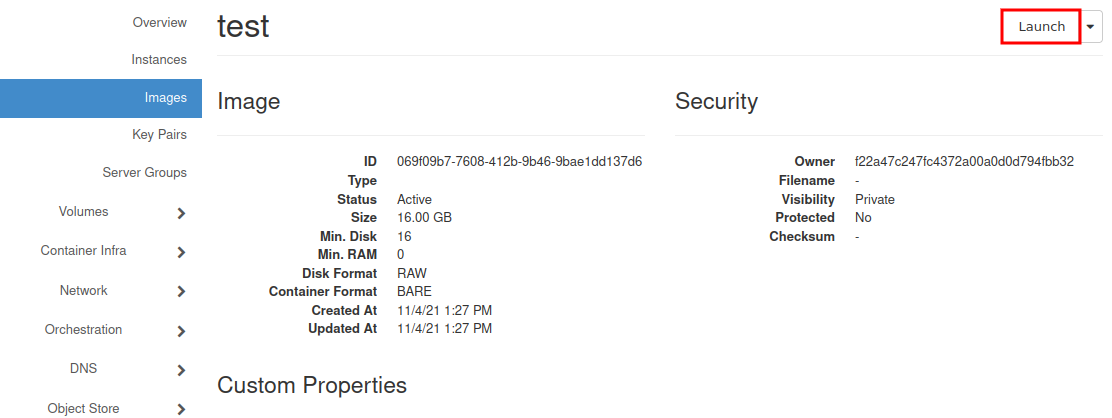
Now, you can click “Launch” in the upper right corner of the window or just go back to the „Instances” menu and launch a new instance from there.
A comprehensive explanation on creating instances can be found here: How to Create New Linux VM in OpenStack Dashboard Horizon on EO-Lab
If you are already familiar with this, there is still one difference. Chose “boot from snapshot” as the source instead of “boot from image” and select your previously created snapshot from the list. During the next steps select parameters (flavor, size) equal to or greater than those of the original VM. (The “Launch instance” button will be unavailable until all necessary settings are completed).
The new machine gets configured as a clone of the original one, except for network addresses and network policies (e.g. a new floating-ip must be assigned).
Warning
If the original machine had any additional volumes attached to it, they should also be cloned.
You may also want to read the article about Volume snapshot inheritance and its consequences on EO-Lab.