How to create a network with router in Horizon Dashboard on EO-Lab
Newly created Projects in Horizon are empty by default. If you want to have your own private network, some manual configuration is neccessary, which will be shown in the following steps:
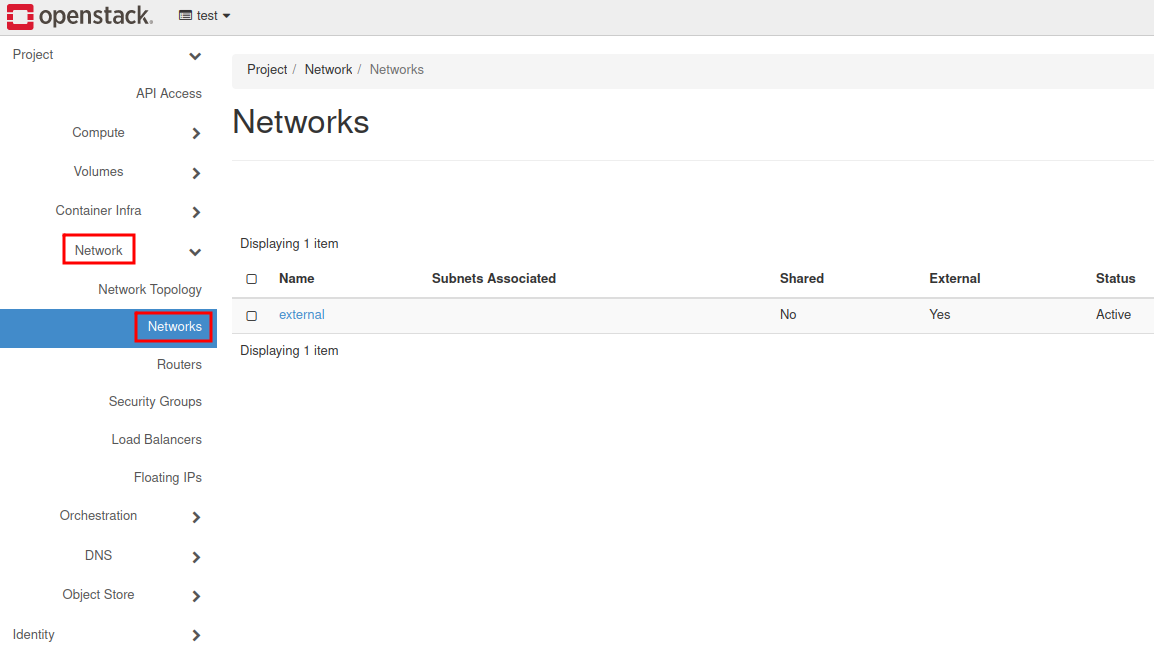
Log in to your OpenStack dashboard and open the Network tab, then the Networks sub-label.
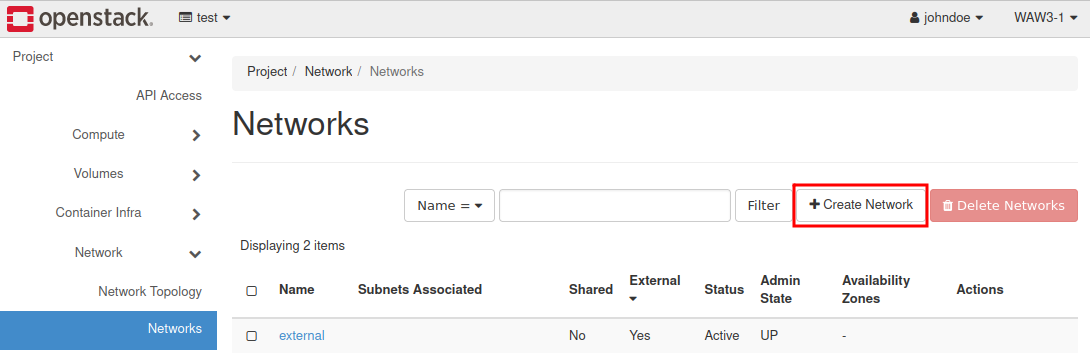
Click on the “Create Network” button.
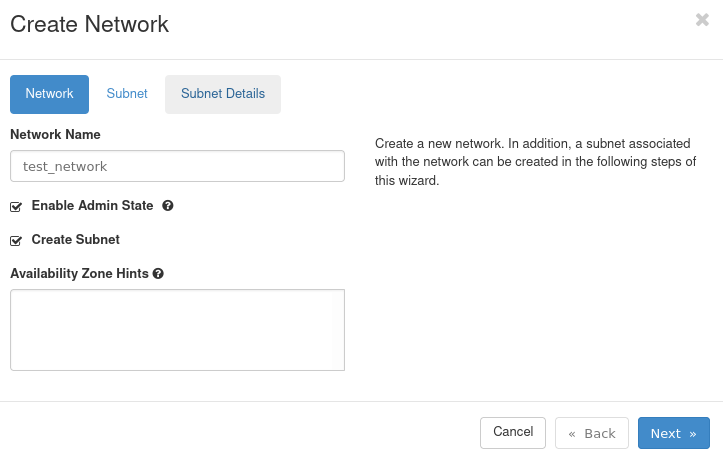
Give your Network a name and tick the two checkboxes: Enable Admin State and Create Subnet. Then, click on Next:
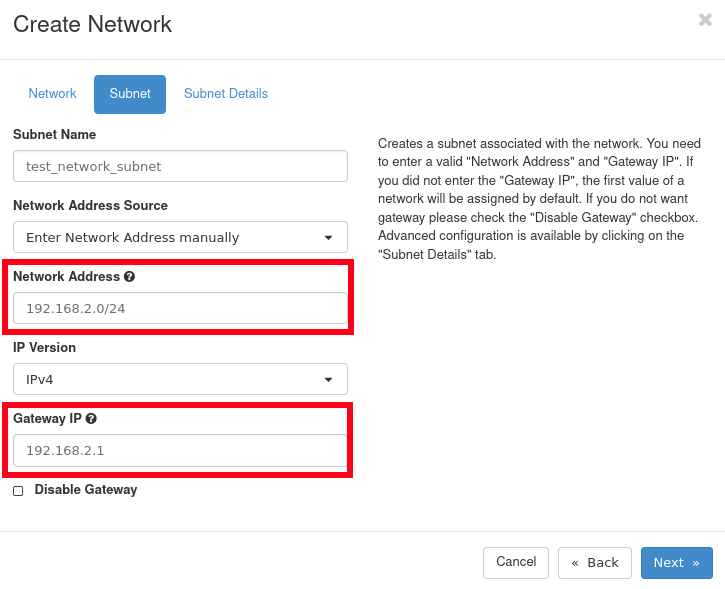
Define your Subnet name. Assign a valid network address as a prefix using the syntax shown below. (The number behind the / determines how many bytes will be available for network addresses; set between 0 and 32)
Define a Gateway IP for your Router; usually it’s the first available address in the subnet.
Click on Next.
In Subnet Details you are able to turn on a DHCP server, assign DNS servers to your network and set up basic routing. When ready, finish the process with the “Create” button.

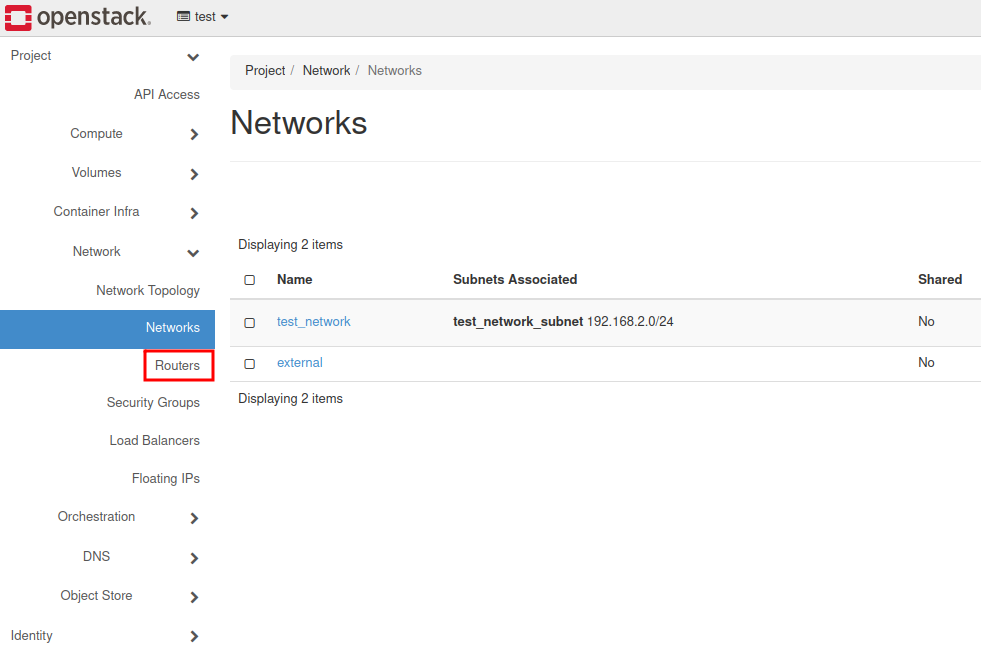
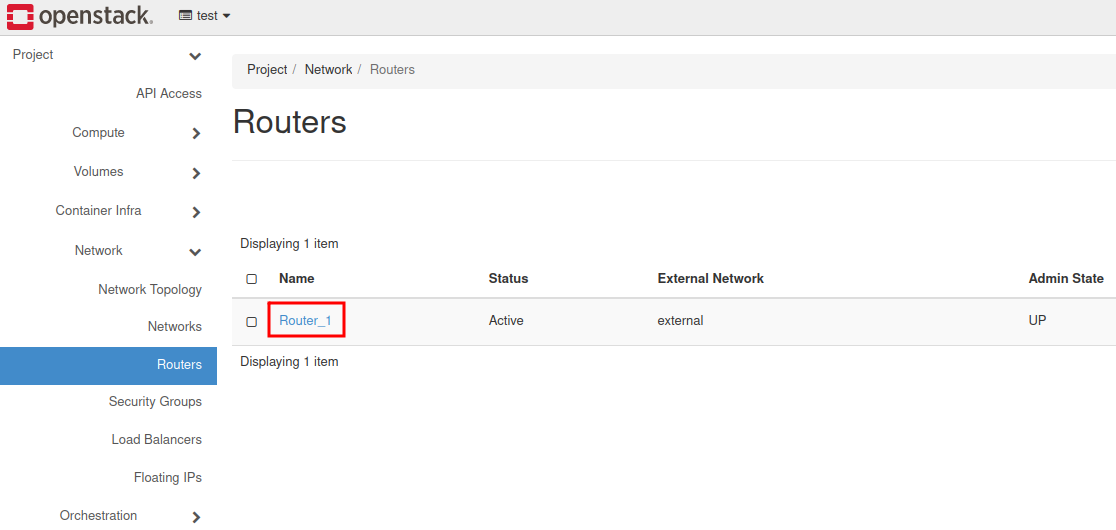
Afterwards, click on the Routers tab.
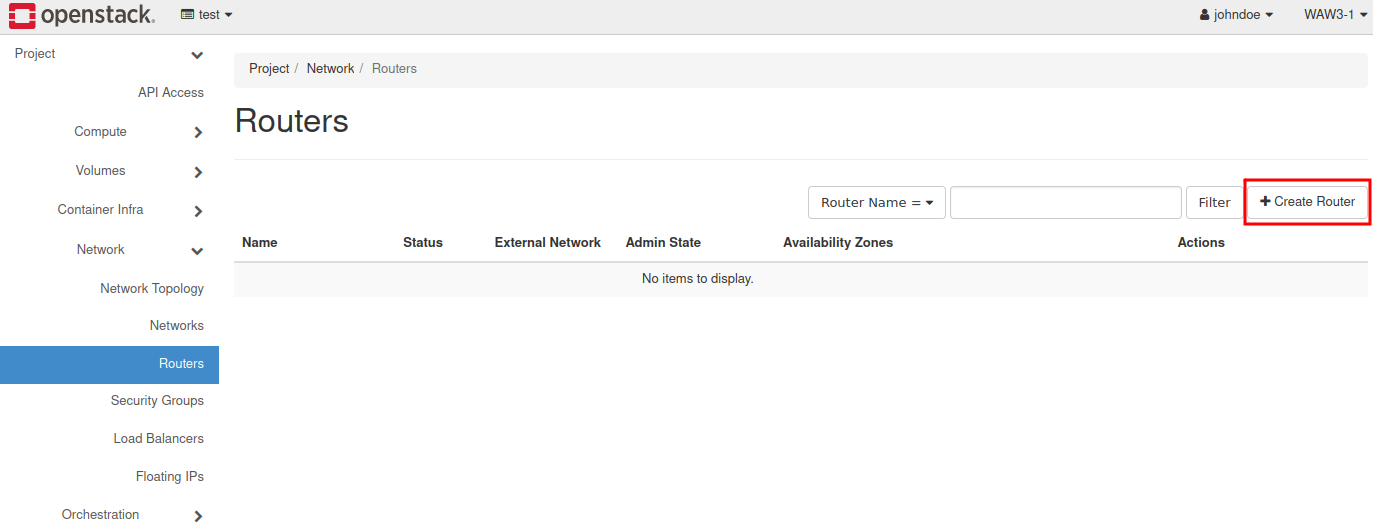
Click on the “Create Router” button.
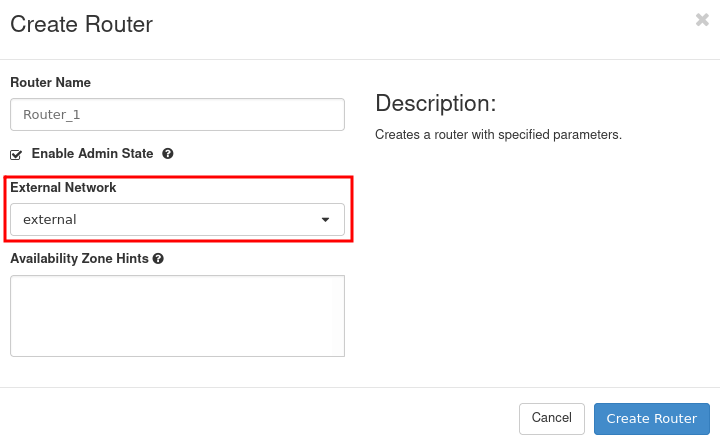
Name this new virtual device and assign external, the only available network. Finish by clicking on the blue “Create Router” button.
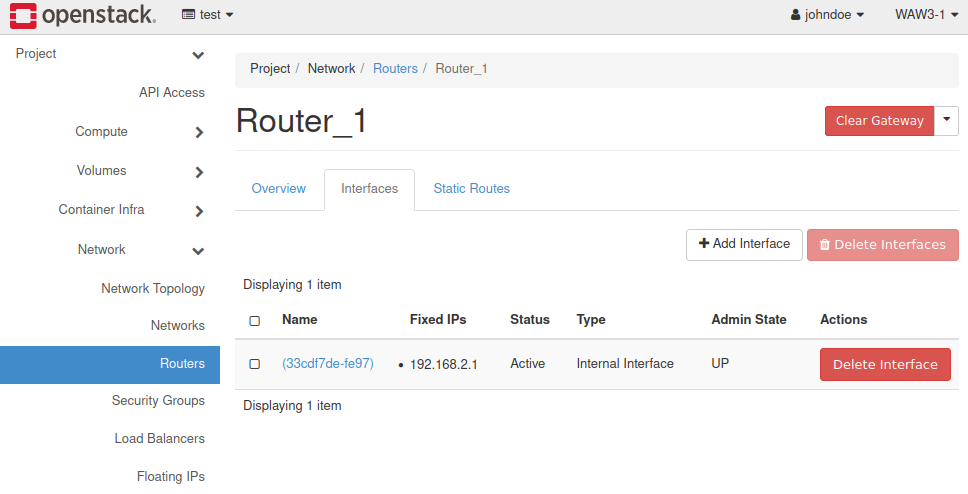
Click on your newly created Router (called “Router_1” in this example).
Next, select Interfaces.

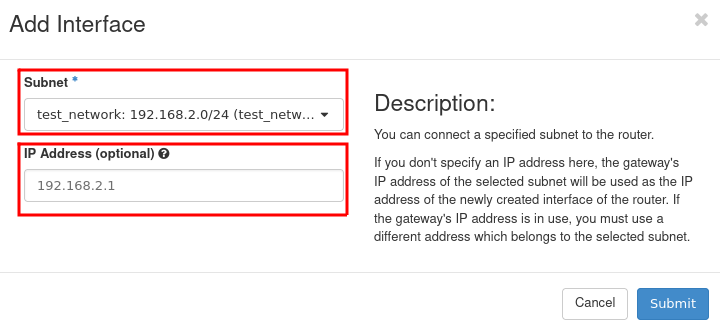
Click on the + Add Interface button.

Assign a subnet and an IP Address. (It’s the gateway for our network). Submit the changes.
The internal interface has been attached to the router.