How to create a Windows Server VM and access it from Windows desktop on EO-Lab
Step 1: Login into your account on https://tenant-manager.eo-lab.org/login webpage.

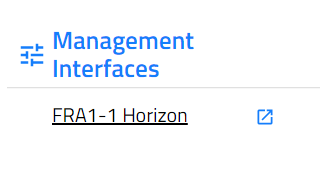
Step 2: On the left bottom side, you can find Management Interfaces, choose Horizon.
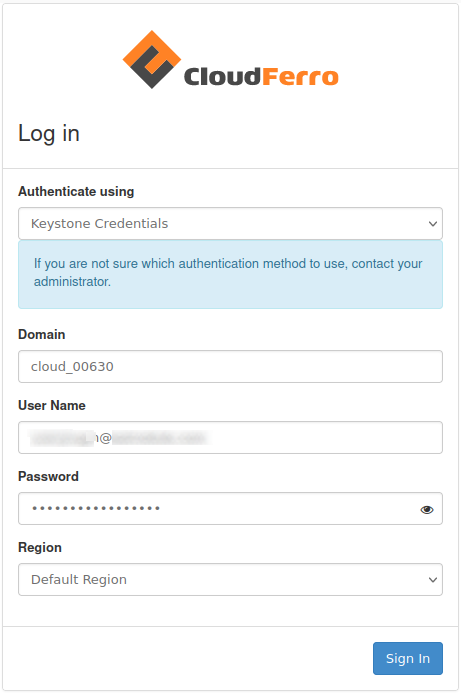
In another one logging step choose EO-Lab and use the same credentials as before.
The second option is Keystone Credentials, if you want to use this option, you have to know your domain. (as below)
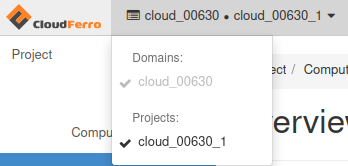
HOW TO FIND THE DOMAIN:
On top right, near the CloudFerro Logo you’ll find your domain name and project that you are recently using. You can create new projects and switching between them.
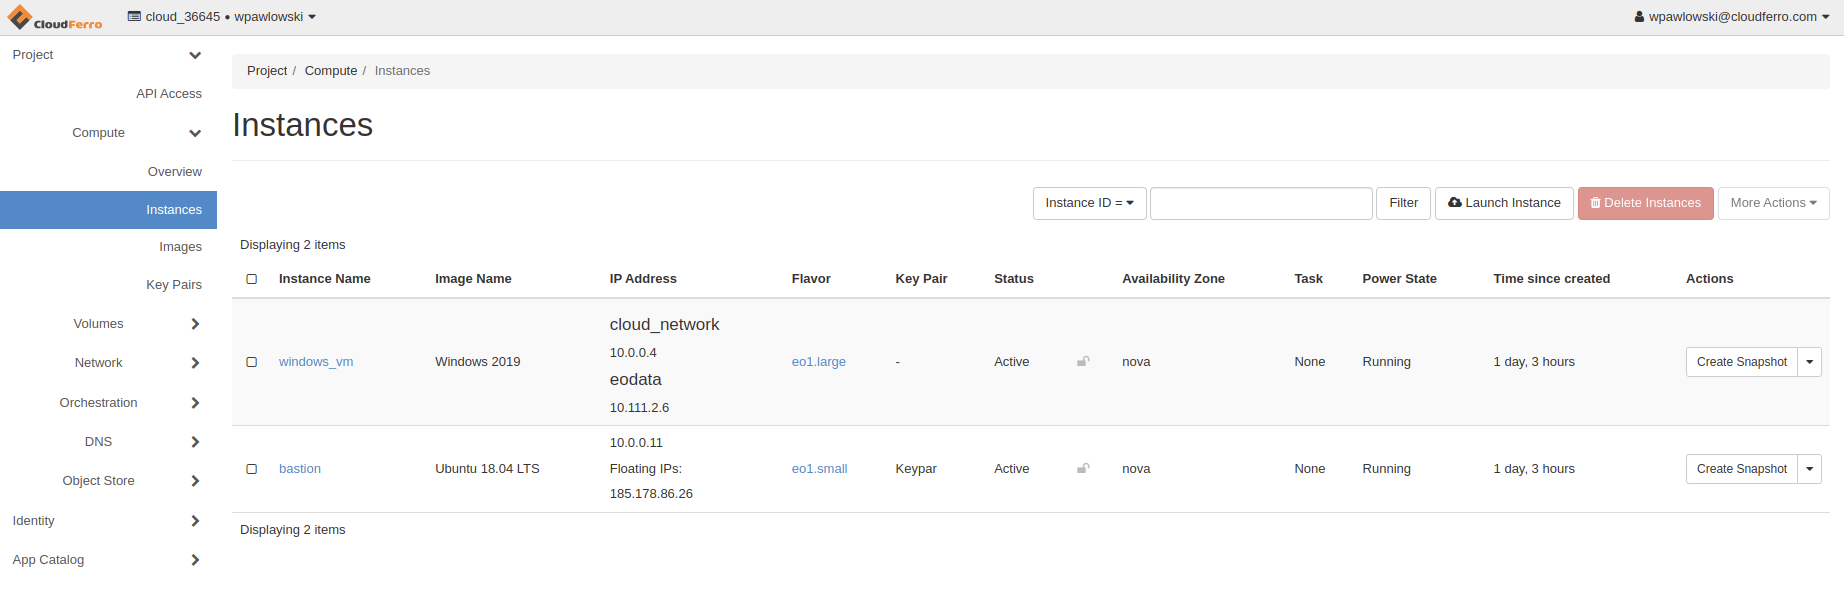
Step 3: After you’ve successfully logged in, you may start creating your Windows instance.
Go to Compute→Instances and click Launch Instance.
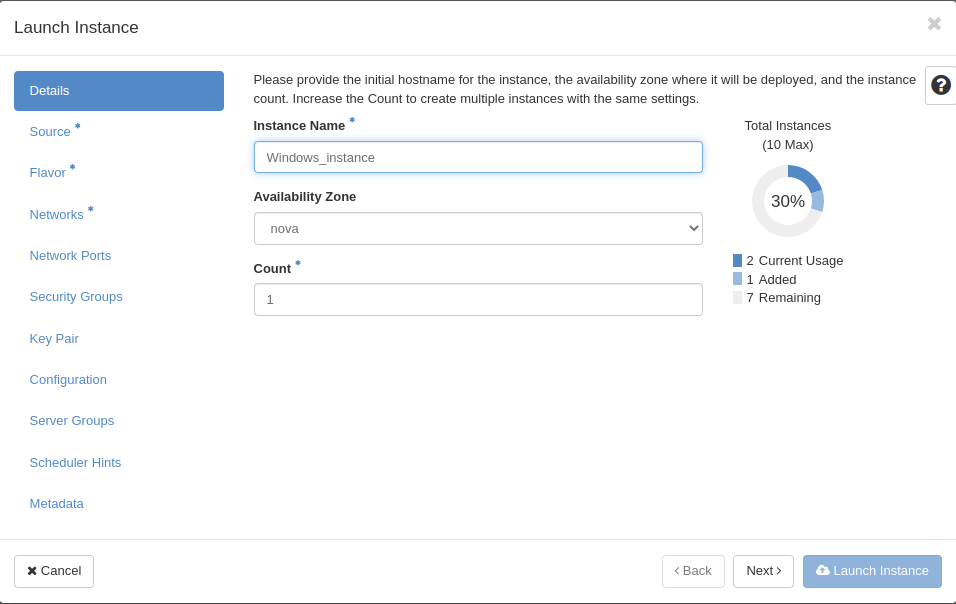
In Details tab type Name of your instance and then click next.
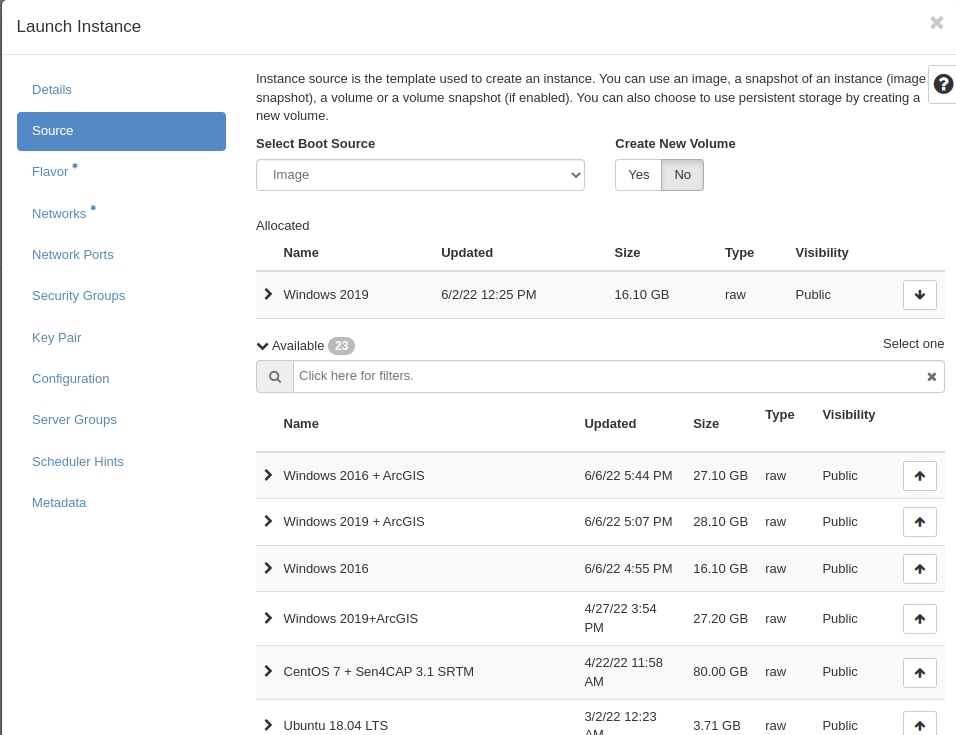
After that, you need to choose the source of your instance. Click one of the up arrows on the right side and allocate one of the following.
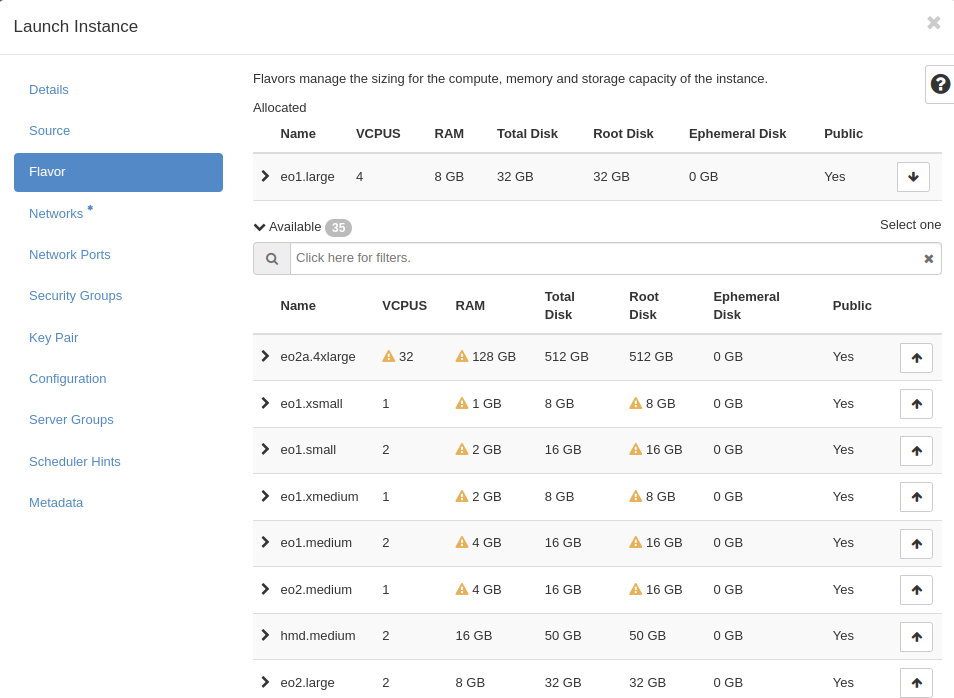
In flavor tab choose one of the available flavours, like step before. If you see yellow warning on flavour you are not able to use this flavour.
In next tab choose eodata network, this network gives you access to Earth Observation Data and another one network called cloud_xxxx this network is default network created for your project.
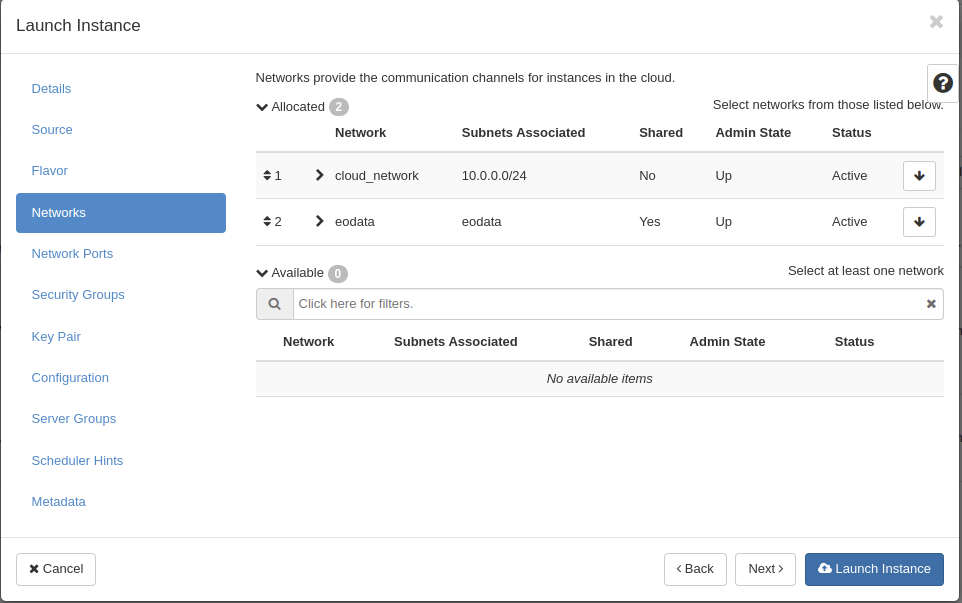
You can also create your own network in Main Network tab.

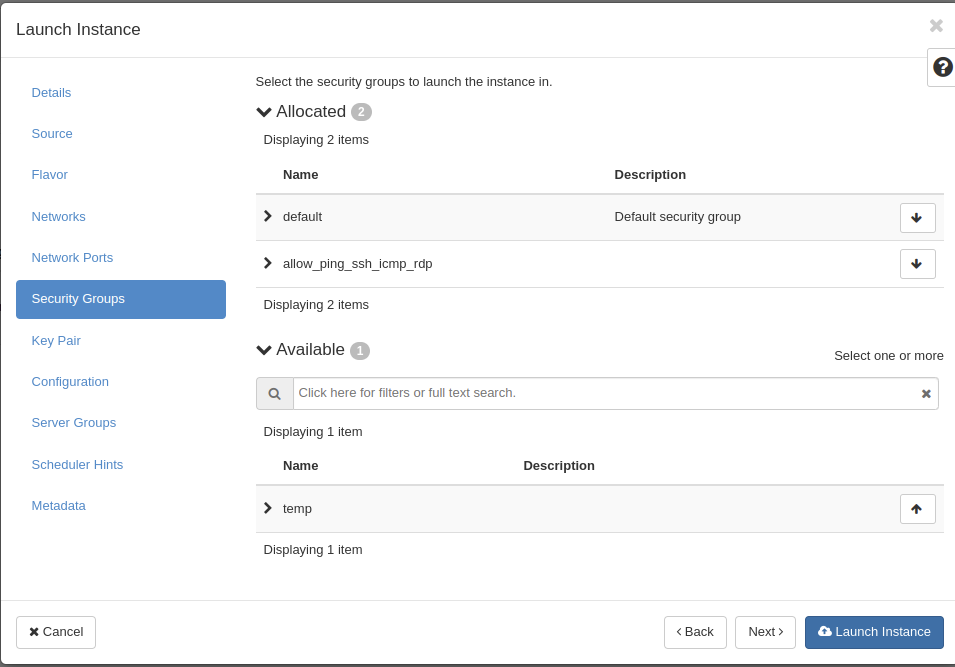
If you want to run services or use specified protocols you must allocate security groups choose allow_ping_ssh_icmp_rdp group and allocate it to your instance
Now you can click launch Instance, wait several minutes to launch it right.
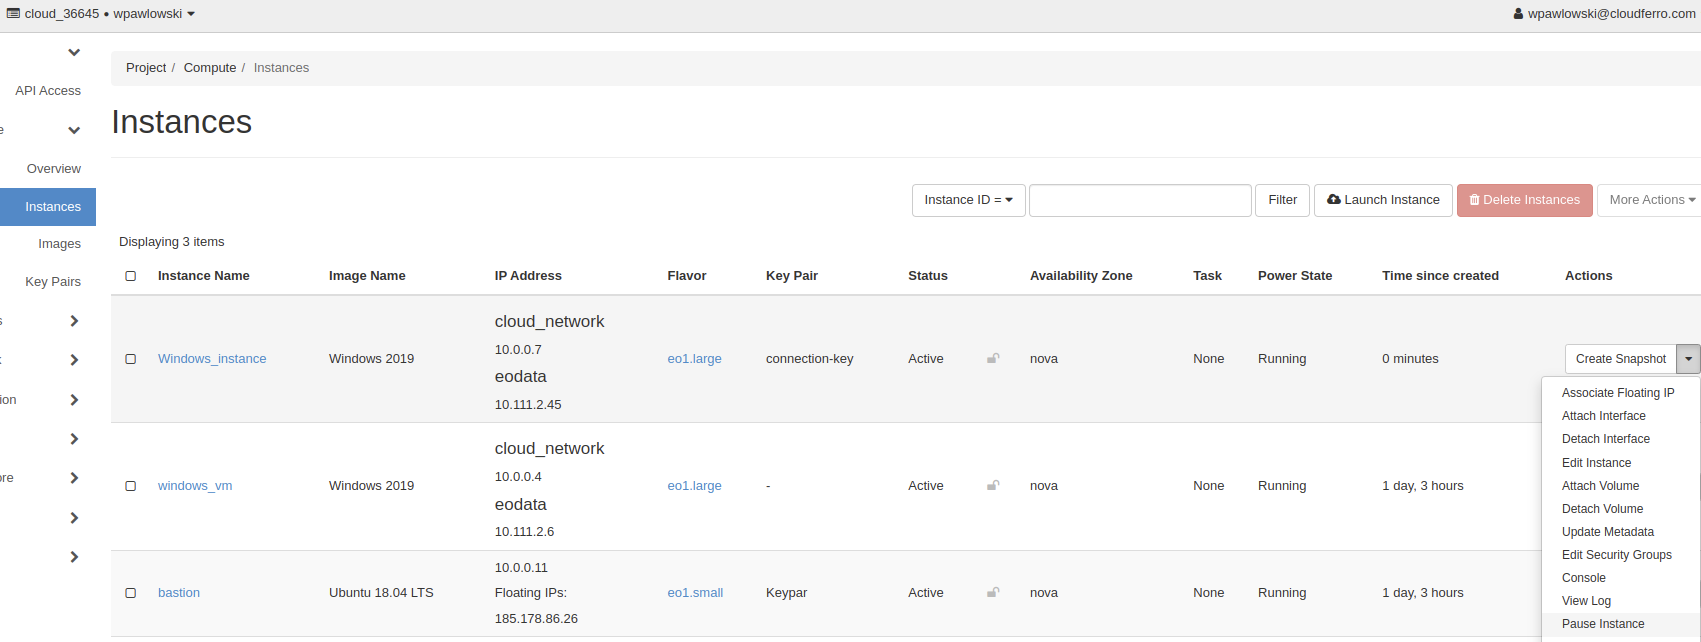
When our instance is working we must Allocate Floating IP (public IP) to it, after this step your vm should be able to connect from the other space.
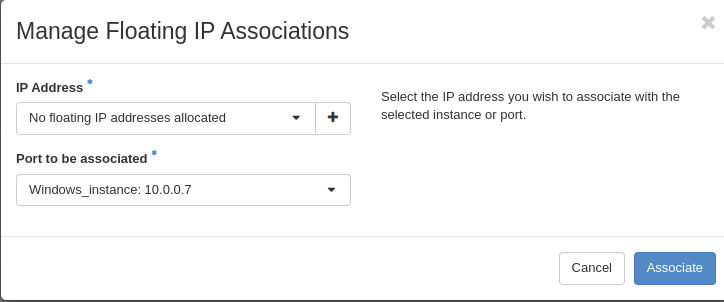
To allocate floating IP you must click “+” (plus) next to Select an IP address. You must also select interface please do not select eodata interface.
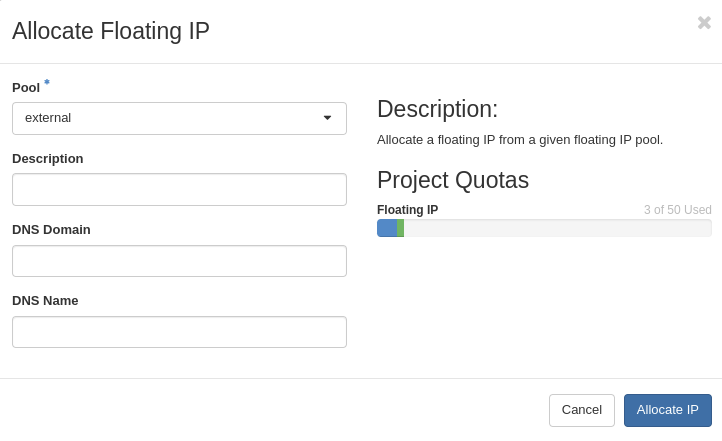
Choose Pool external and click Allocate IP
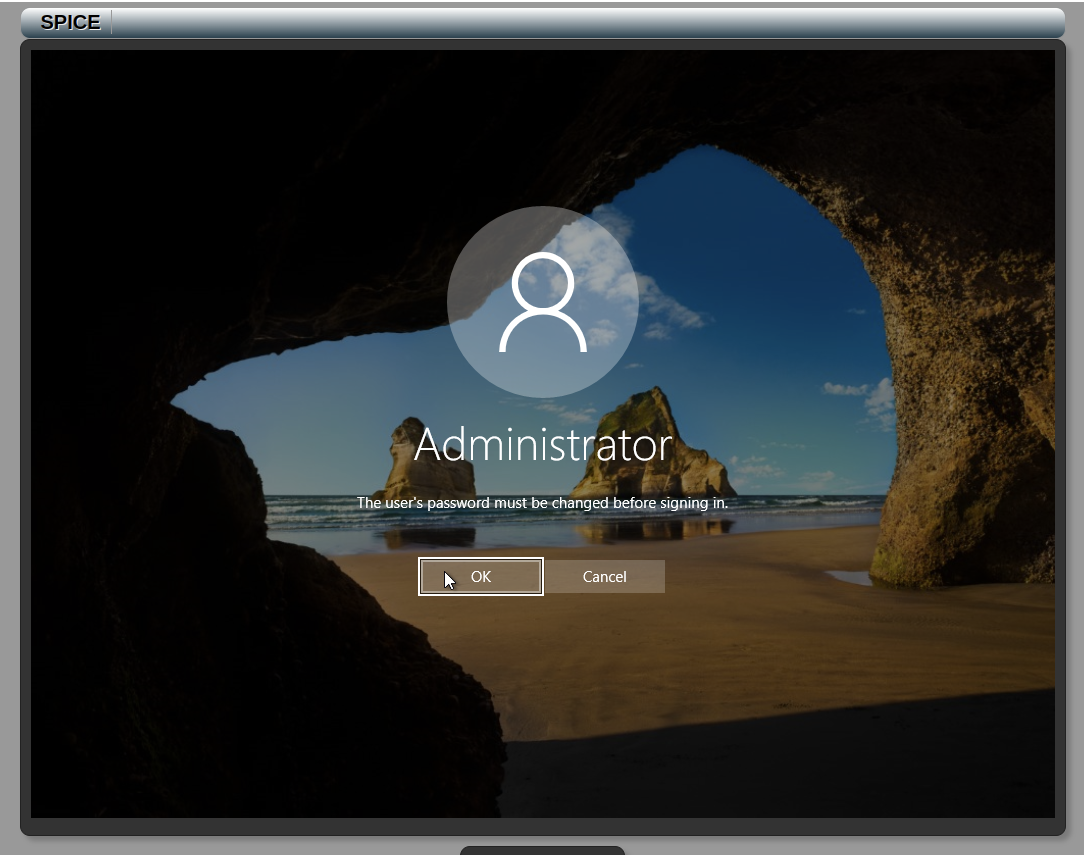
If everything is right you should see public address next to your cloud_xxx network, you can also use console that is implemented in OpenStack, open pull down menu and choose Console, you can log into it with Administrator account, but on the beginning you must change password.
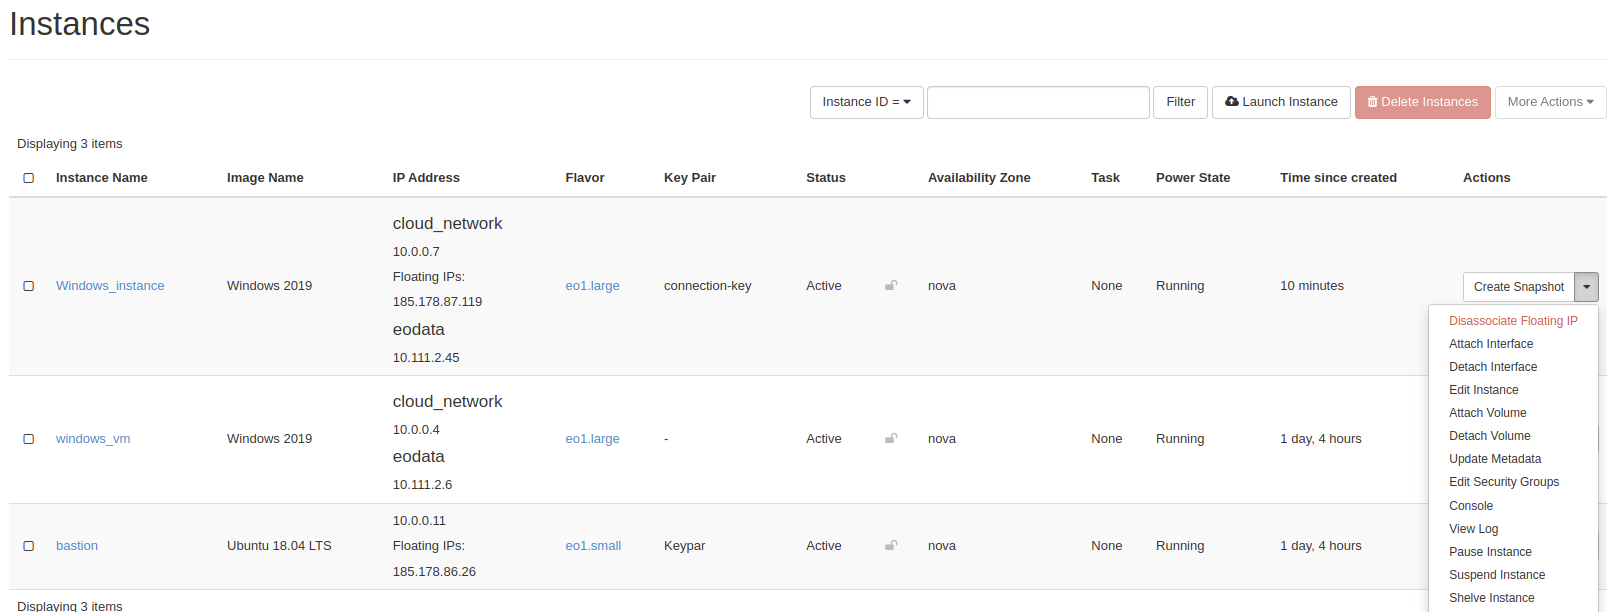
With this console is several problems, is very slow and you can not copying and pasting. Please set strong password to your VM.
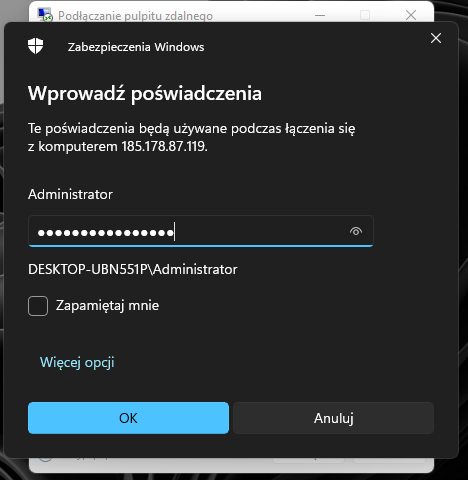
Step 4: Connect to your Windows Server via RDP.
Open remote desktop app, click on show options, in field Computer type your public ip associated with vm interface , and in username type Administrator
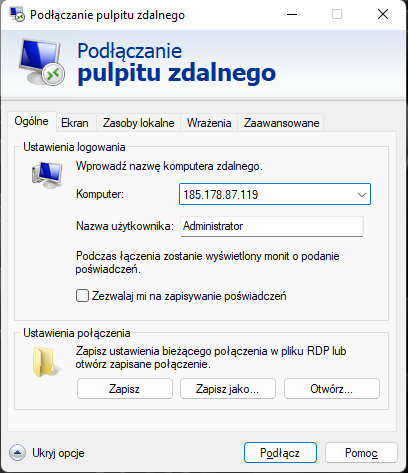
Now you can click connect, in password field type your STRONG password.
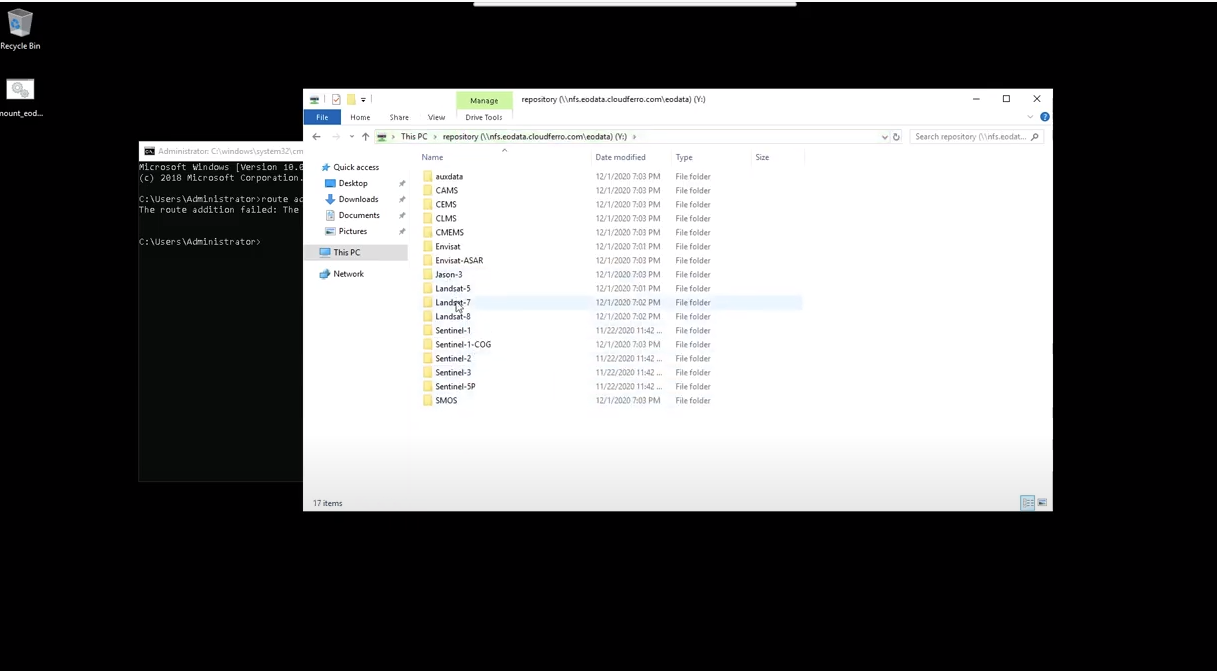
When you are logged into your Administrator account you double click on .bat script placed in Desktop, this script is mounting eodata folder in network locations.
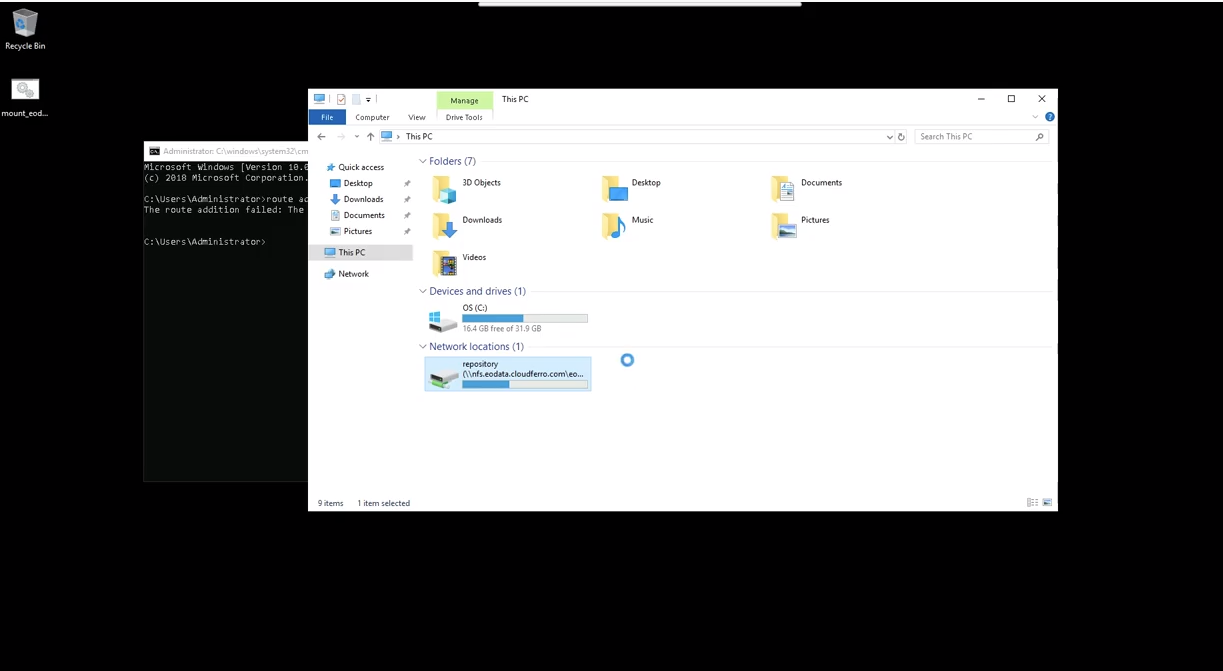
If you have problem with this script and eodata is not mounted yet open cmd and type: route add 10.97.0.0/24 10.111.0.1
Try run script again and check your network locations. Now you should have eodata access