CI/CD pipelines with GitLab on EO-Lab Kubernetes - building a Docker image
GitLab provides an isolated, private code registry and space for collaboration on code by teams. It also offers a broad range of code deployment automation capabilities. In this article, we will explain how to automate building a Docker image of your app.
What We Are Going To Cover
Add your public key to GitLab and access GitLab from your command line
Create project in GitLab and add sample application code
Define environment variables with your DockerHub coordinates in GitLab
Create pipeline to build your app’s Docker image using Kaniko
Trigger pipeline build
Prerequisites
No. 1 Account
You need a EO-Lab hosting account with access to the Horizon interface: https://cloud.fra1-1.cloudferro.com/auth/login/?next=/.
No. 2 Kubernetes cluster
How to Create a Kubernetes Cluster Using EO-Lab OpenStack Magnum
No. 3 Local version of GitLab available
Your local instance of GitLab is available and properly accessible by your GitLab user.
In this article we assume the setup according to this article Install GitLab on EO-Lab Kubernetes. If you use a different instance of GitLab, there can be some differences e.g. where certain functionalities are located in the GUI.
In this article, we shall be using gitlab.mysampledomain.info as the gitlab instance. Be sure to replace it with your own domain.
No. 4 git CLI operational
git command installed locally. You may use it with GitHub, GitLab and other source control platforms based on git.
No. 5 Account at DockerHub
Access to your DockerHub (or another container image registry).
No. 6 Using Kaniko
kaniko is a tool to build container images based on a provided Dockerfile. For more elaborate overview of kaniko refer to its documentation.
No. 7 Private and public keys available
To connect to our GitLab instance we need a combination of a private and a public key. You can use any key pair, one option is to use OpenStack Horizon to create one. For reference see:
See How to Create Key Pair in OpenStack Dashboard on EO-Lab
Here, we use the key pair to connect to GitLab instance that we previously installed in Prerequisite No. 3.
Step 1 Add your public key to GitLab and access GitLab from your command line
In order to access your GitLab instance from the command line, GitLab uses SSH-based authentication. To ensure your console uses these keys for authentication by default, ensure your keys are stored in the ~/.ssh folder and are called id_rsa (private key) and id_rsa.pub (public key).
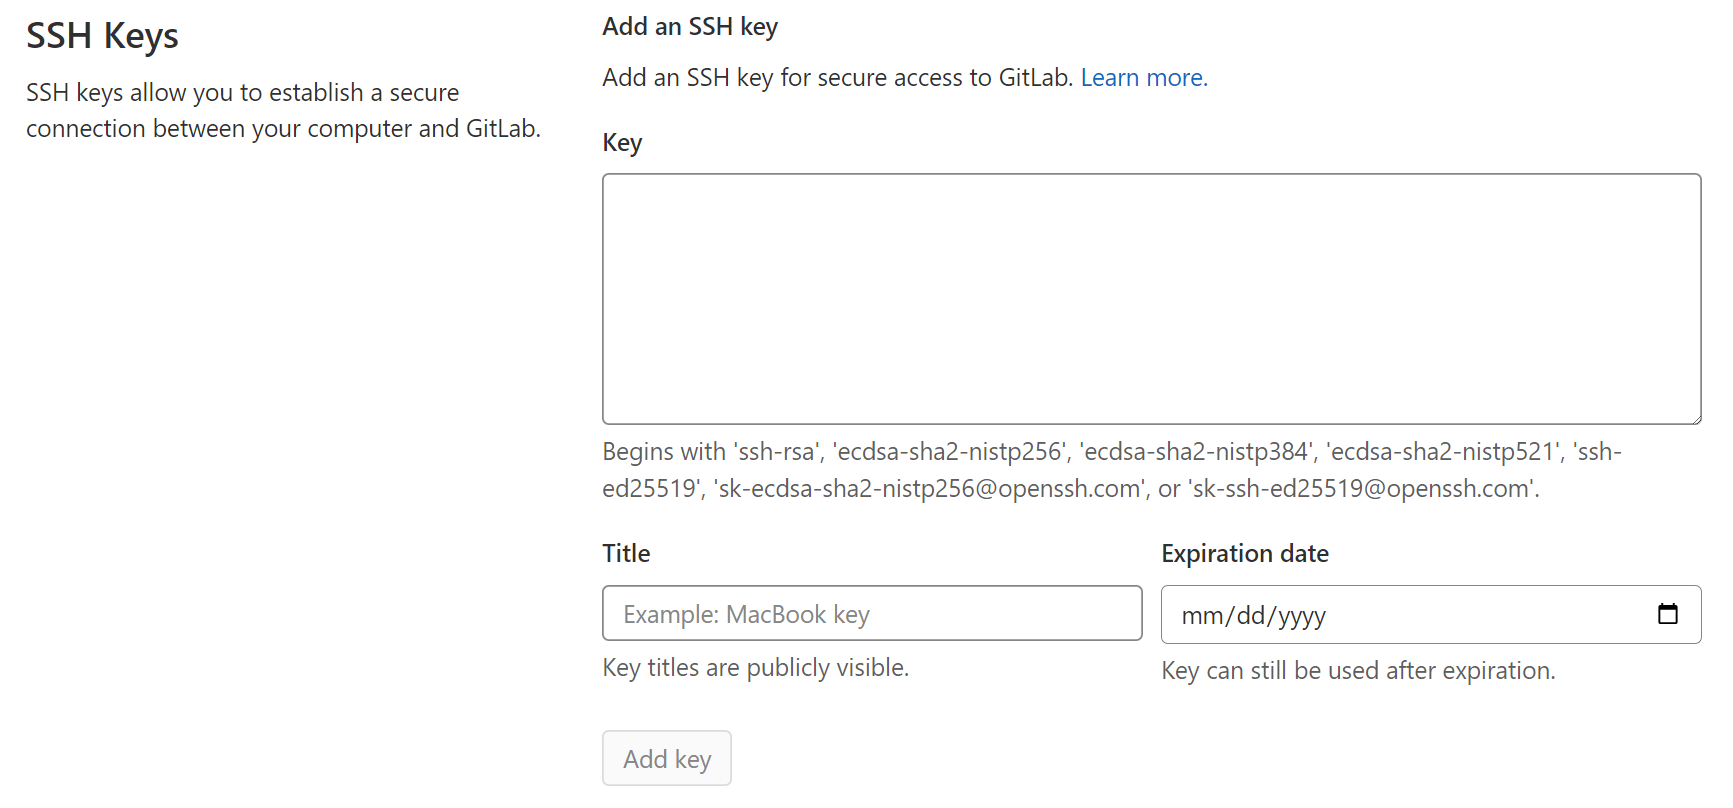
The public key should then be added to the authorized keys in GitLab GUI. To add the public key, click on your avatar icon:
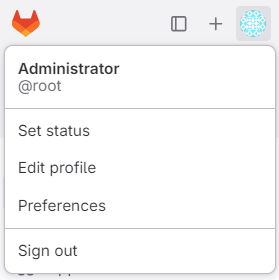
Then scroll to “Preferences”, choose “SSH Keys” from the left menu and paste the contents of your public key into the “Key” field.
If the GitLab instance you are using is hosted, say, on domain mysampledomain.info, you can use a command like this
ssh -T git@gitlab.mysampledomain.info
to verify that you have access to GitLab from CLI interface.
You should see an output similar to the following:

Step 2 Create project in GitLab and add sample application code
We will first add a sample application in GitLab. This is a minimal Python-Flask application, its code can be downloaded from this EO-Lab GitHub repository accompanying this Knowledge Base.
As a first step in this section, we will initiate the GitLab remote origin. Login to GitLab GUI and enter the default screen, click on button “New Project”, then “Create blank project”. It will transfer you to the view below.
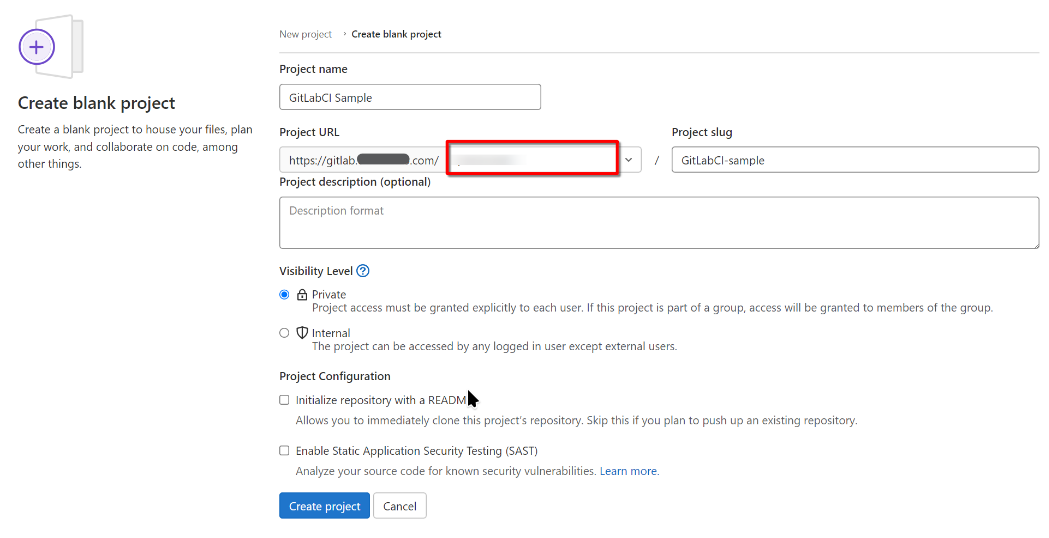
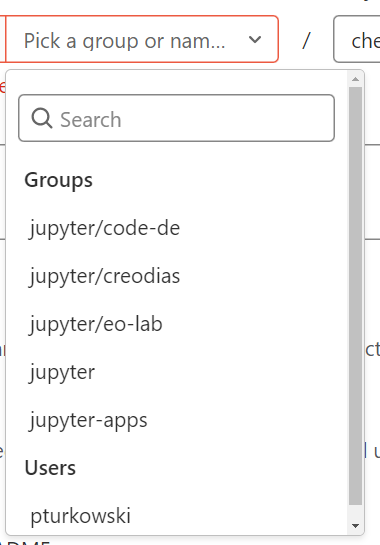
In that view, project URL will be pre-filled and corresponding to the URL of your GitLab instance. In the place denoted with a red rectangle, you should enter your user name; usually, it will be root but can be anything else. If there already are some users defined in GitLab, their names will appear in a drop-down menu.
Enter your preferred project name and slug, in our case “GitLabCI Sample” and “GitLabCI-sample”, respectively. Choose the visibility level to your preference. Uncheck box “Initialize repository with a README”, because we will initiate the repository from the existing code. (We are not initializing the repo, we are only establishing the project in the origin.)
After submitting the “Create project” form, you will receive a list of commands to work with your repo. Review them and switch to the CLI. Clone the entire CloudFerro K8s samples repo, then extract the sub-folder called HelloWorld-Docker-image-Flask. For clarity, we rename its contents to a new folder, GitLabCI-sample. Use
mkdir ~/GitLabCI-sample
if this is the first time you are working through this article, so the folder would be ready for the following set of commands:
git clone https://github.com/CloudFerro/K8s-samples
mv ~/K8s-samples/HelloWorld-Docker-image-Flask/* ~/GitLabCI-sample
rm K8s-samples/ -rf
After the above sequence of steps, we have folder GitLabCI-sample with 3 files:
app.py which is our Python Flask application code,
a Dockerfile and
the dependencies file requirements.txt.
We can then cd into this folder, initialize git repo, commit locally and push to the remote with the following commands (replace domain and username):
cd GitLabCI-sample
git init
git remote add origin git@gitlab.mysampledomain.info:myusername/GitLabCI-sample.git
git add .
git commit -m "First commit"
git push origin master
Most likely, the user name myusername here will be just root.
When we enter GitLab GUI, we can see that our changes are committed:

Step 3 Define environment variables with your DockerHub coordinates in GitLab
We want to create a CI/CD pipeline that will, upon a new commit, build a Docker image of our app and push it to Docker Hub container registry. Let us use environment variables in GitLab to enable connection to the Docker registry. Use the following keys and values:
CI_COMMIT_REF_SLUG=latest
CI_REGISTRY=https://index.docker.io/v1/
CI_REGISTRY_IMAGE=index.docker.io/yourdockerhubuser/gitlabci-sample
CI_REGISTRY_USER=yourdockerhubuser
CI_REGISTRY_PASSWORD=yourdockerhubrepo
The first two, CI_COMMIT_REF_SLUG and CI_REGISTRY are hardcoded for DockerHub. The other three are:
- CI_REGISTRY_IMAGE
The name of Docker image to be created. Enter your user name for Docker Hub site (yourdockerhubuser). If, for instance, the user name is paultur, the image in Docker registry will be /paultur/gitlabci-sample, as seen at the end of this article.
- CI_REGISTRY_USER
Enter yourdockerhubuser which, again, is your user name in Docker Hub.
- CI_REGISTRY_PASSWORD
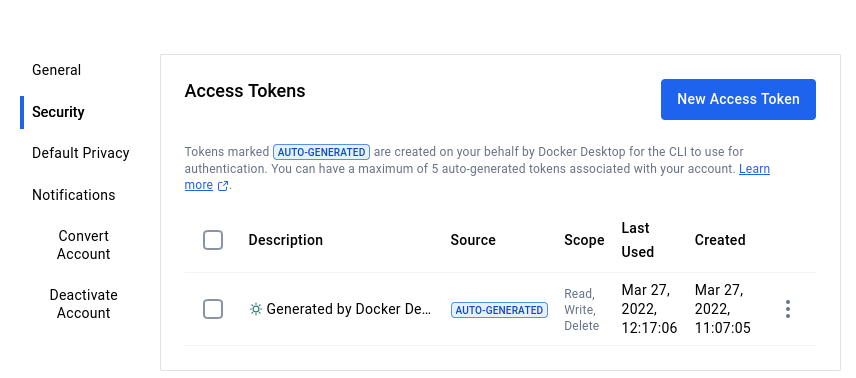
Enter * yourdockerhubrepo, which can be your account password or a specially created access token. To create one such token, see option Account Settings –> Security in Docker site:
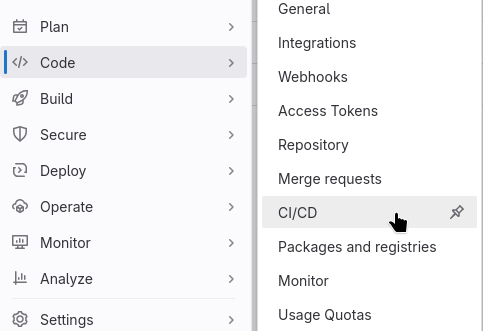
Back to GitLab UI, from menu Settings in project view, go to CI/CD submenu:
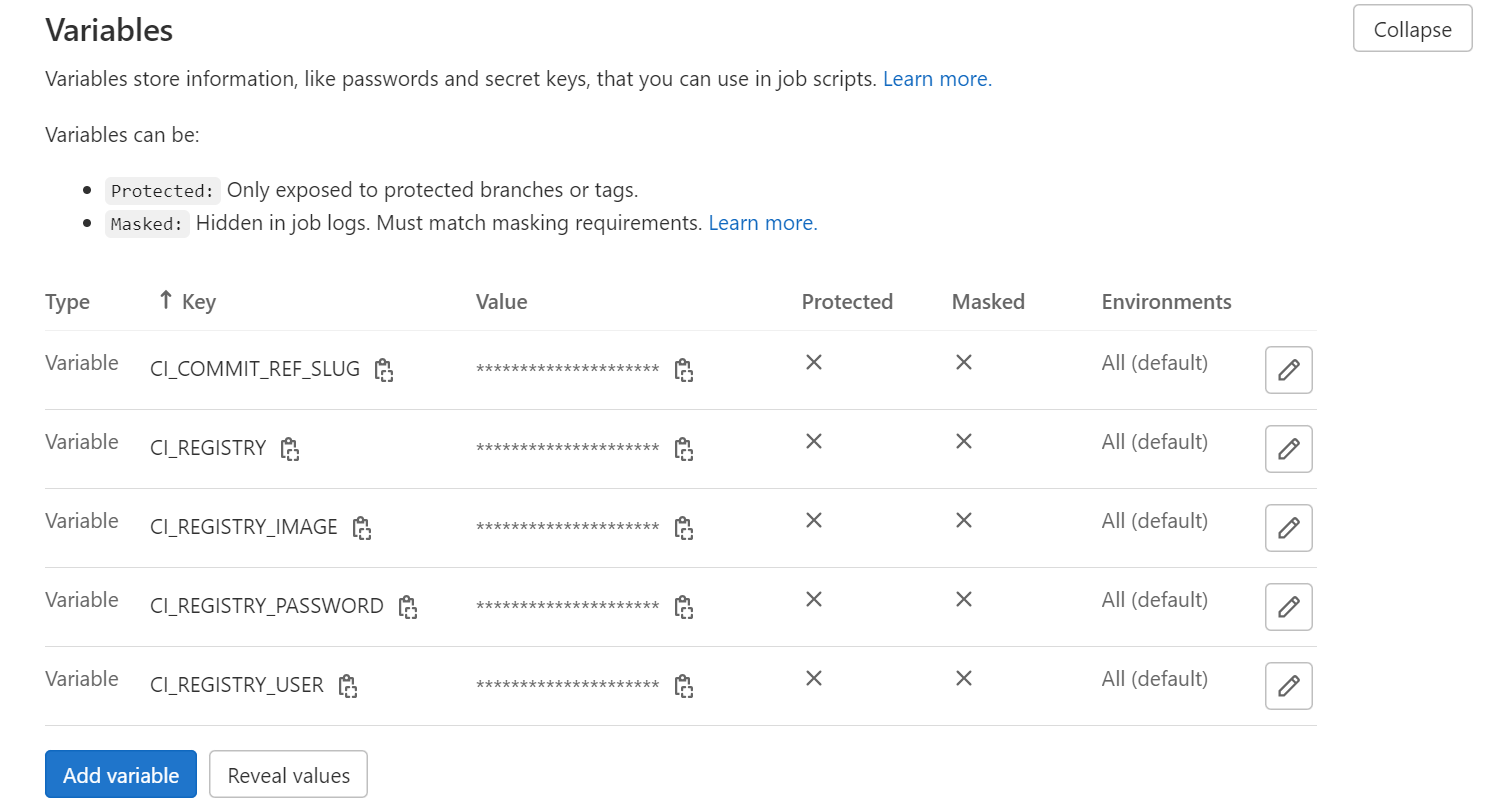
Scroll down to the section “Variables”and fill in the respective forms. In the GUI, this will look similar to this:
Now that the values of variables are set up, we will use them in our CI/CD pipeline.
Step 4 Create a pipeline to build your app’s Docker image using Kaniko
The CI/CD pipeline that we are creating in GitLab will have only one job that
builds the image and
pushes it to the Docker image registry.
In real life scenarios, pipelines would also include additional jobs e.g. related to unit or integration tests.
GitLab recognizes that a repository/project is configured to implement a CI/CD pipeline by the presence of the .gitlab-ci.yml file at the root of the project. One could apply the CI/CD to the project also from GitLab GUI (CI/CD menu entry → Pipelines), using one of the provided default templates. However the result will be, similarly, adding a specifically configured .gitlab-ci.yml file to the root of the project.
Now create now a .gitlab-ci.yml file with the contents as below and place it into the folder GitLabCI-sample. The file contains the configuration of our pipeline and defines a single job called docker_image_build.
.gitlab-ci.yml
docker_image_build:
  image:
    name: gcr.io/kaniko-project/executor:v1.14.0-debug
    entrypoint: [""]
  script:
    - echo "{\"auths\":{\"${CI_REGISTRY}\":{\"auth\":\"$(printf "%s:%s" "${CI_REGISTRY_USER}" "${CI_REGISTRY_PASSWORD}" | base64 | tr -d '\n')\" }}}" > /kaniko/.docker/config.json
    - >-
      /kaniko/executor
      --context "${CI_PROJECT_DIR}"
      --cache=false
      --dockerfile "${CI_PROJECT_DIR}/Dockerfile"
      --destination "${CI_REGISTRY_IMAGE}:${CI_COMMIT_REF_SLUG}"
When changes to our project are committed to GitLab, the CI/CD pipeline is triggered to run automatically.
The jobs are executed by GitLab runner. If you are using GitLab instance by following Prerequisite No. 3 Local version of GitLab available, the default runner will have already been deployed in the cluster. In this case, the runner deploys a short-lived pod dedicated to running this specific pipeline. One of the containers running in the pod is based on Kaniko image and is used to build the Docker image of our app.
There are two key commands in the script key and they run when the Kaniko container starts. Both will take values after the environment variables we have previously entered into GitLab.
- Fill in and save the contents of a standardized configuration file
The first command fills in and saves the contents of config.json, which is a standardized configuration file used for authenticating to DockerHub.
- Build and publish the container image to DockerHub
The second command builds and publishes the container image to DockerHub.
Step 5 Trigger pipeline build
A commit triggers the pipeline to run. After adding the file, publish changes to the repository with the following set of commands:
git add .
git commit -m "Add .gitlab-ci.yml"
git push origin master
After this commit, if we switch to CI/CD screen of our project, we should see that the pipeline first is in running status, and completed afterwards:

Also when browsing our Docker registry, the image is published:

What To Do Next
Add your unit and integration tests to this pipeline. They can be added as additional steps in the gitlab-ci.yml file. A complete reference can be found here: https://docs.gitlab.com/ee/ci/yaml/