Two-Factor Authentication to EO-Lab site using KeePassXC on desktop
This guide explains how to enable and use two-factor authentication (2FA) on the EO-Lab site using the desktop app KeePassXC. You’ll secure your account with time-based one-time passwords (TOTP) generated on your computer.
See article Two-Factor Authentication on the EO-Lab Site Using a Mobile Application if you want to use a smartphone app for the TOTP two-factor authentication.
What we are going to cover
The concept of KeePassXC
KeePassXC is a free and open-source graphical password manager. It stores passwords, TOTP keys, and other secrets in a file on your computer. You can manually move this file to another computer if you want to use KeePassXC there.
Unlike cloud-based managers such as Bitwarden, 1Password, or LastPass, KeePassXC does not provide built-in sync features.
Attention
Since KeePassXC does not provide any cloud storage, you must ensure that you do not lose the file or anything required to decrypt it. You will lose all the content of the file if you lose any of these objects. You should back up this file regularly.
If you already have KeePassXC installed and configured, skip to Step 3: Add the entry or Step 4: Configure the TOTP.
The following instructions are for Ubuntu. If you use a different operating system, refer to the appropriate documentation.
Step 1: Install KeePassXC
Install KeePassXC before logging in to the EO-Lab website. Open the terminal, type the following command, and press Enter:
sudo apt update && sudo apt upgrade -y && sudo apt install -y keepassxc
Step 2: Configure KeePassXC
Launch KeePassXC. During its first run, you will see the following window:
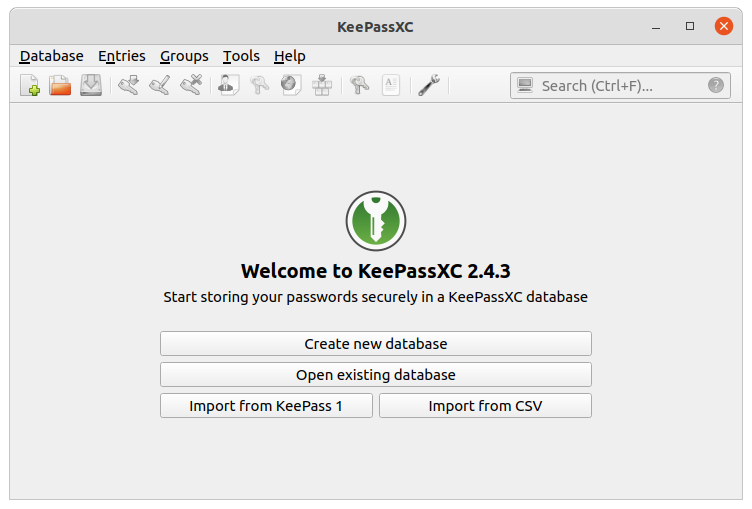
Click the button Create new database to begin creating a file in which you can store your passwords, TOTP keys, and other secrets. Now you will see the following window:
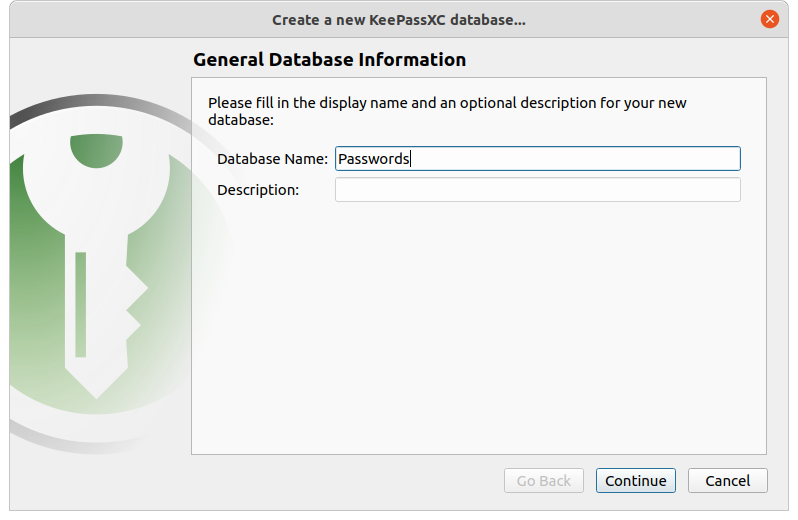
In the first step of database creation, you can enter a name and description for your database. The name provided here will not be the name of your file, so you may leave it as it is. Click Continue. The following window will appear:
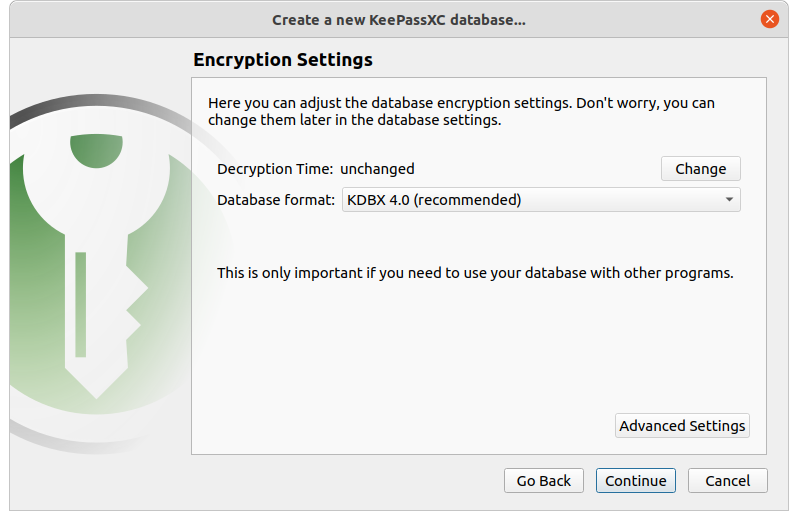
Next, choose how long the database should take to decrypt. As stated in the window, Higher values offer more protection, but opening the database will take longer. Accept the default database format and click Continue. You will now see the following window:
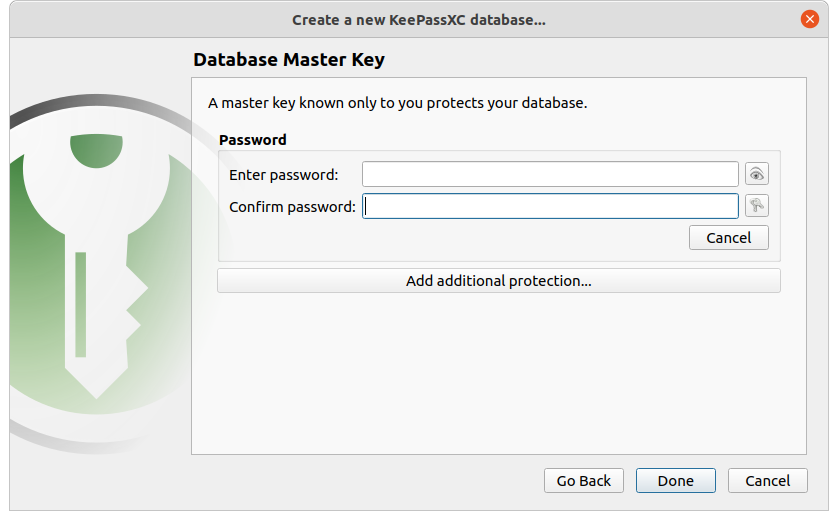
Now you need to provide the password for decrypting your database. Re-enter the password in the second text field. You can also add additional security measures using the button Add additional protection…, but if you are just getting started it might not be needed.
Attention
If at any point in the future you are unable to provide your password (for example, because you have forgotten it) and any additional protection measures you configured, you will be locked out of your database and potentially lose all of its content.
Click Done.
Choose a name and location for the file. Click Save.
Step 3: Add the entry for your account
Your database should now be operational. Create a new entry containing your username, password, and TOTP code for the EO-Lab cloud. Click Add a new entry (the fourth button on the toolbar, marked with the red rectangle in the screenshot below).

The following window will appear:
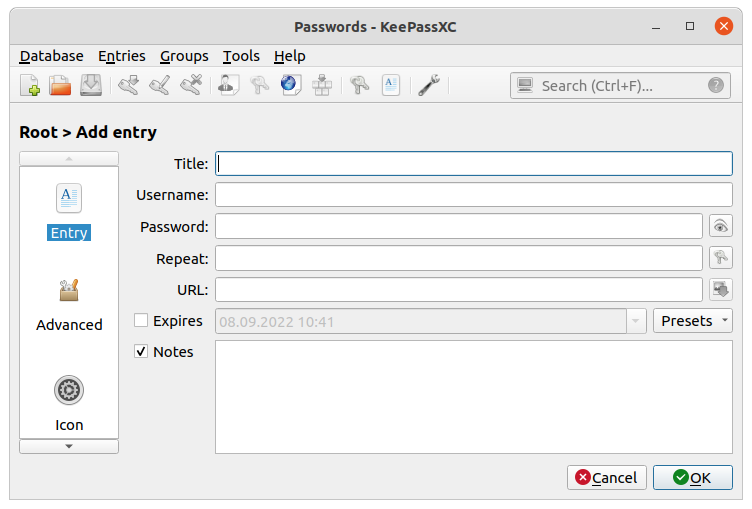
In the Title field, enter the name under which your entry should be identified in your database, for example EO-Lab. Then, type your username and password.
Click OK to save the entry.
If the option Automatically save after every change in the General section of the application settings is enabled, you do not have to save. If not, press Ctrl+S to save the database.
The 2FA process relies on a shared secret — a 32-character base32 string used to generate TOTP codes.
Note
Setup is usually performed once. You’ll use KeePassXC to generate codes every time you log in.
Step 4: Configure TOTP
If you have already set up the TOTP value for the account, probably by creating it for a mobile app first, you may just reuse that value in KeePassXC. If you’re setting it up for the first time, you’ll receive the TOTP key when logging in to the site.
Use one of the following links to sign in:
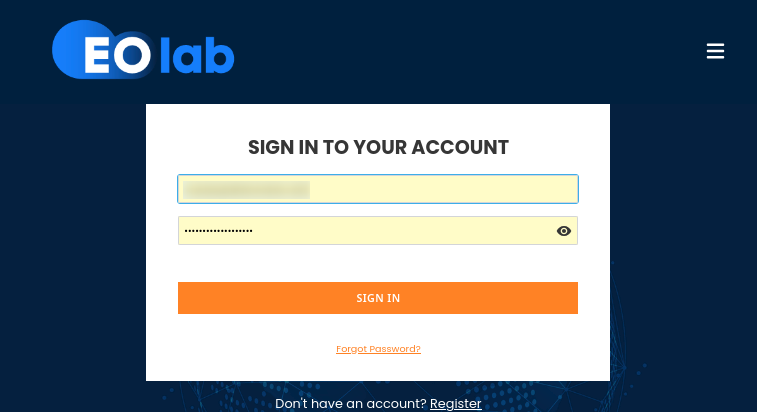
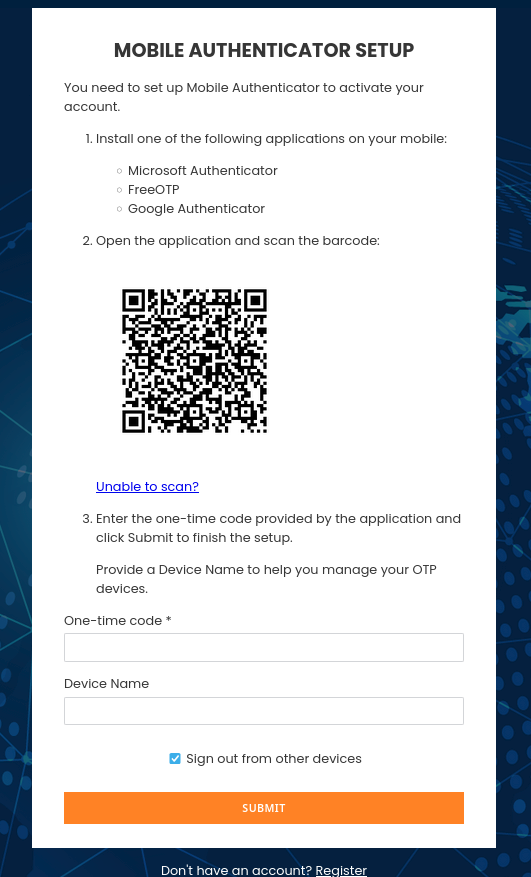
You will see a form with QR code, as shown on the left side:
|
|
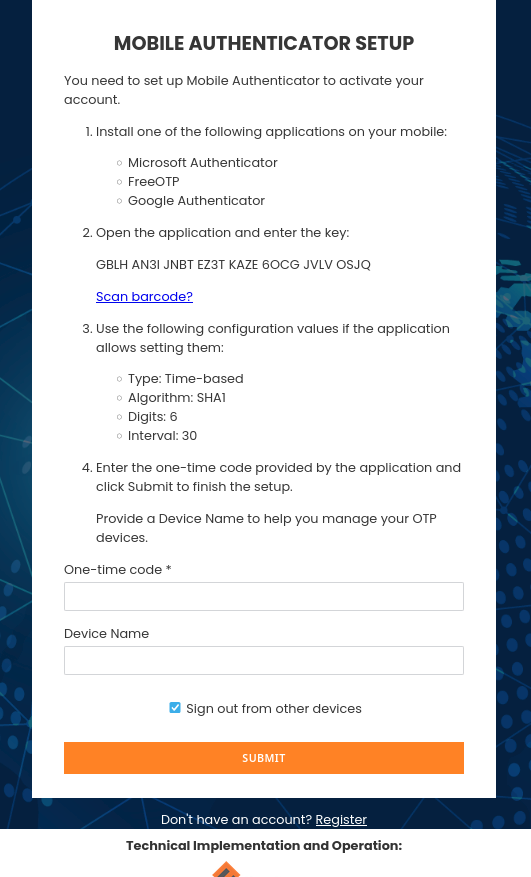
Since your computer cannot scan QR codes, click Unable to scan?. The form on the right will appear and display your TOTP key.
Once you have your TOTP key:
Return to KeePassXC
Right-click the entry for your account
Choose TOTP… → Setup TOTP…
You will see the following window:
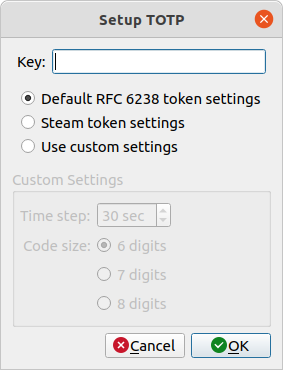
Paste your key into the Key: field and keep the checkbox Default RFC 6238 token settings checked. Click OK.
To view your TOTP code:
Left-click the entry
Press Ctrl+Shift+T
Alternatively, highlight the entry and press Ctrl+T to copy the TOTP code to your clipboard (remember, depending on settings it may disappear, so be sure to paste it in time).
The window with the code will look like this:
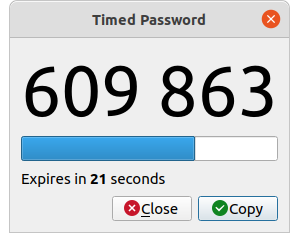
Type the 6-digit code from the window above into the One-time code field on the EO-Lab website.
Choose a name for your device that holds the TOTP key.
Do this before the code expires. If it does, wait for a new one and enter that instead.
Click Submit to continue the login process.
Step 5: Log in using TOTP
Each time you log in, type your credentials as usual. You will then see the data entry field for the one-time code:
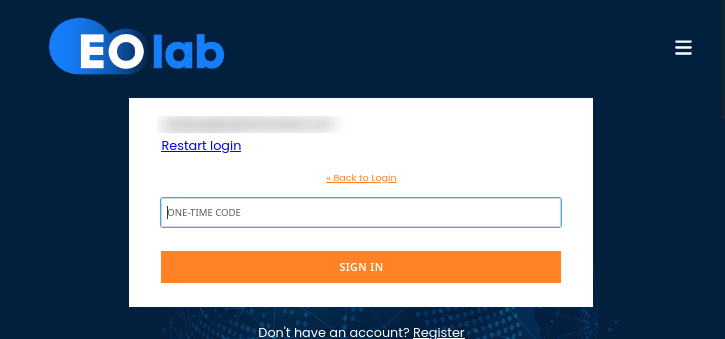
Select the entry in KeePassXC. Press Ctrl+Shift+T to generate the TOTP code. Type it into the ONE-TIME CODE field in your browser.
To copy the code instead, press Ctrl+T while the entry is highlighted. Paste it quickly—your clipboard may be cleared shortly, depending on your system settings.
Each code is valid for 30 seconds. If only a few seconds remain, wait for the next code.
You should now be signed in.
What To Do Next
You can also use KeePassXC to generate codes for OpenStack CLI. See article How to Activate OpenStack CLI Access to EO-Lab Cloud Using One- or Two-Factor Authentication; in section Two-factor authentication you will be prompted to enter a 6-digit TOTP code. You can use KeePassXC to generate it, as shown in Step 5 above.