Processing Products with Data Explorer on EO-Lab FRA1-1 Cloud
This article covers processing products on EO-Lab using Data Explorer tool.
By processing products EO-Lab users can obtain
analysis-ready and
reduced in size (compared to unprocessed) products.
What We Are Going To Cover
How to find products ready for processing
How to add products to workspace
How to queue up products for processing
Prerequisites
No. 1 Account
You need a EO-Lab hosting account with Horizon interface https://cloud.fra1-1.cloudferro.com/auth/login/?next=/. Create a new account if you need, by visiting https://tenant-manager.eo-lab.org/login.
No. 2 Object storage with S3 access
You will need an object storage container. If you have an account on EO-Lab FRA1-1 cloud, you can create such container by following this article: How to use Object Storage on EO-Lab
No. 3 Access to Data Explorer
Logging in is explained in article
How to Login to Data Explorer on EO-Lab FRA1-1 Cloud
No. 4 Familiarity with processing satellite data products
Downloading a product assumes that you want to have raw images and use your own software to process them further. To the contrary, there is an option known as “processing data products” where you engage a special processor entity to do it for you.
For example, one such processor can have Sentinel-1 and Sentinel-2 data be preprocessed to a special Analysis-Ready Data (ARD) format. It would then allow you to carry analysis with multiple images that have been corrected for disturbances caused by either atmospheric, solar radiation or terrain effects. With Data Explorer you have both options.
Step 1 Finding a product ready for processing
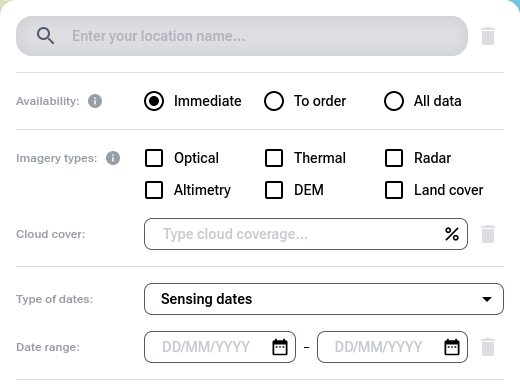
On the data explorer website, use search engine on the left to find the product you wish to process. You need to make sure that you choose a product that has its availability marked as Immediate. You can filter out such products using the Immediate option in the Availability section of the search engine:
Step 2 Adding a product to your workspace
Workspace is a place in which you can save your favorite products.
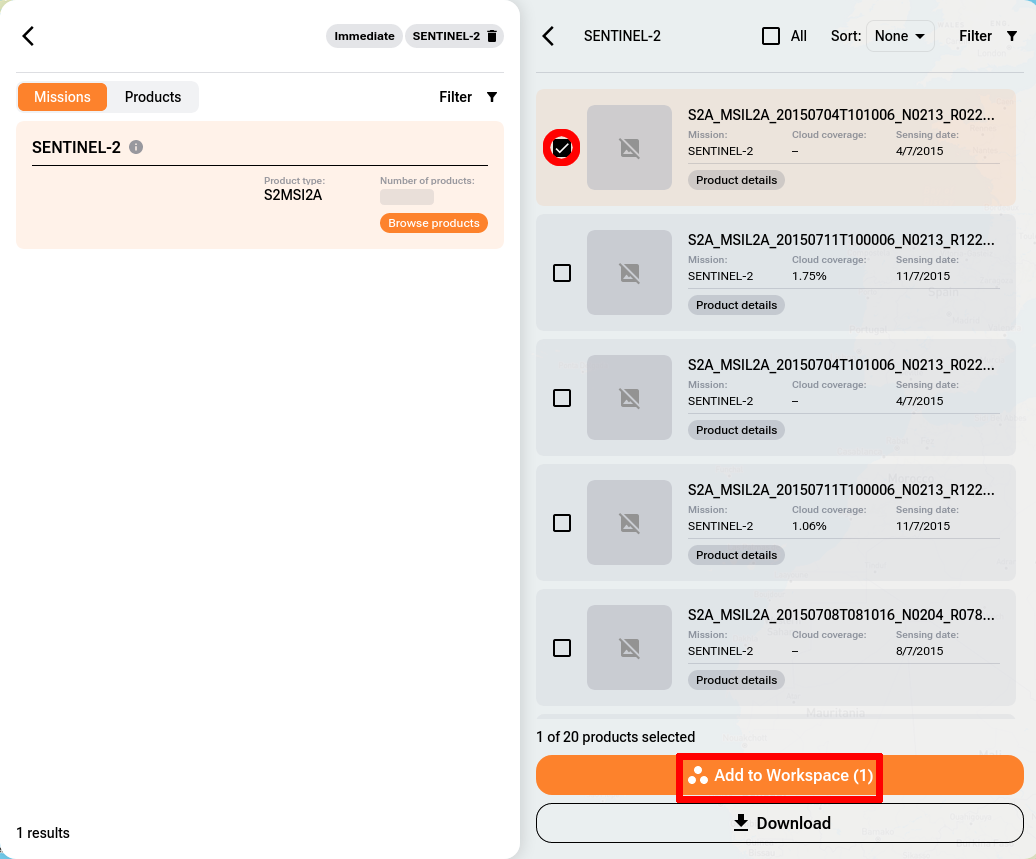
To add products there, select all the ones you are interested in and click Add to Workspace:
You should get the following confirmation:
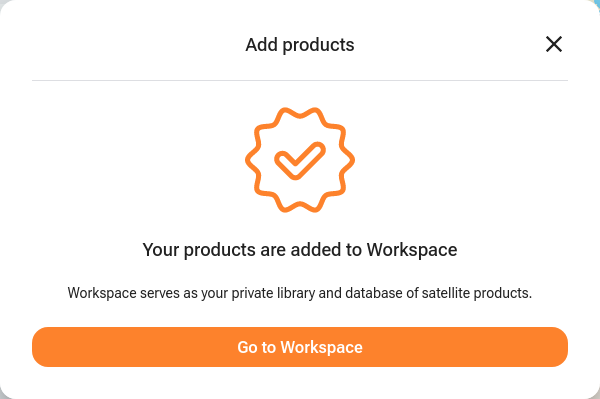
Click Go to Workspace.
Workspace should be opened. All the products you have added should be there.

Step 3 Queuing up your products for processing
In the My products section choose the products you wish to process and click Add to processing center.
Warning
Make sure that the status of Availability parameters is “Immediate” for all of your products.

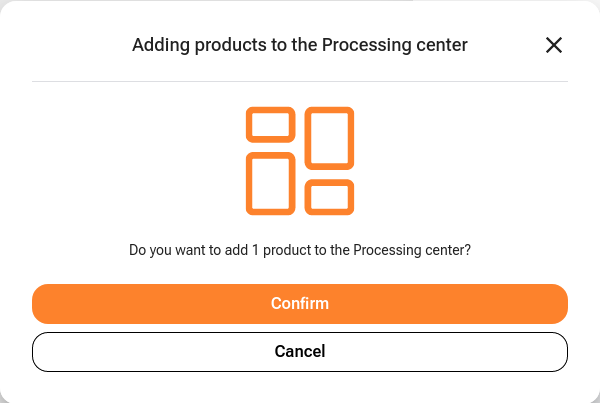
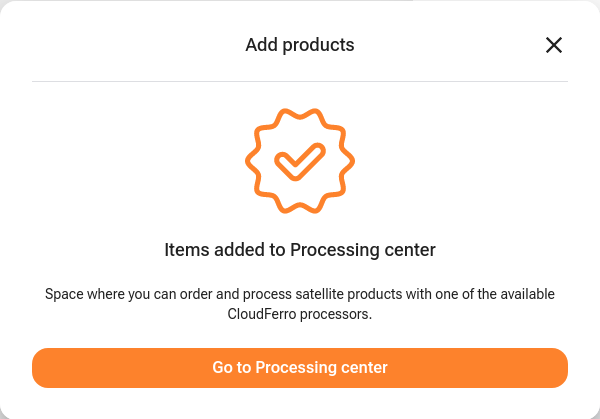
Confirm the addition of your products to the Processing center:
Go to the Processing center:
Select the desired products to be processed and the processor you would like to use for processing.
Click Create processing order.

A form in which you will need to enter additional information will be displayed.
Provide the suitable processor configuration for desired output.
Provide the access data for your private object storage container. If you don’t have one yet, follow Prerequisite No. 2.
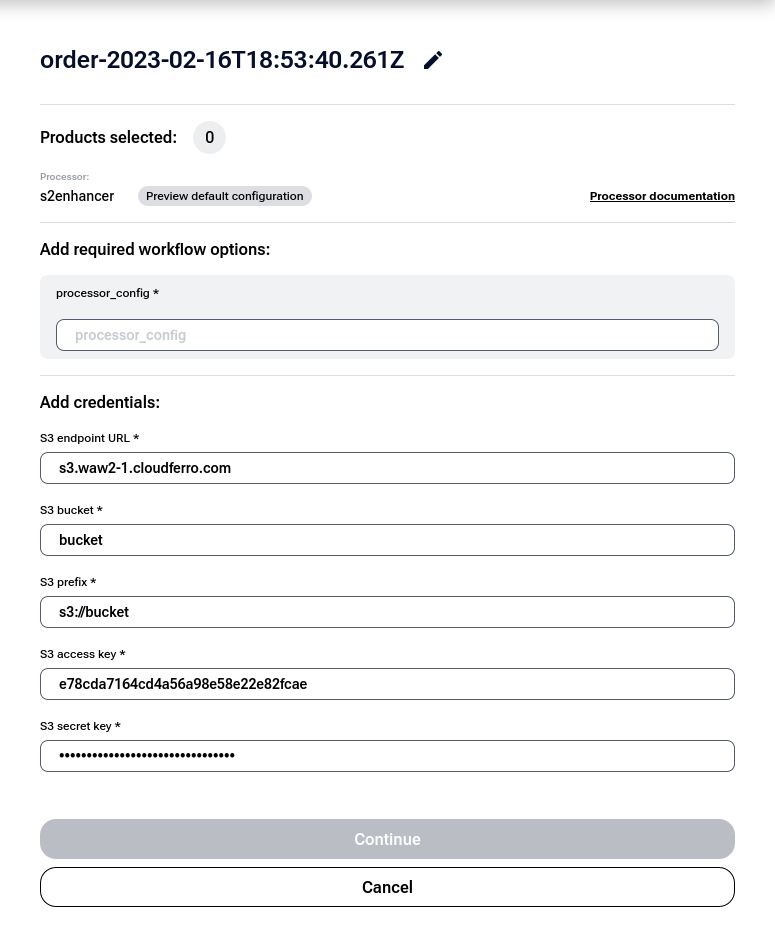
Click Continue.
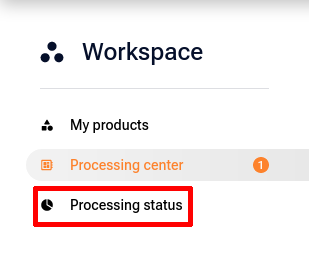
Your order should now be in the queue for processing. You can check the processing status for your order in the Processing status tab on the left side of the Workspace panel.
What To Do Next
If you do not need to process products and only want to download them, you can check out this article:
How to Download a Single Product Using Data Explorer on EO-Lab FRA1-1 Cloud