Installation of ESA SNAP on an EO-Lab VM
ESA SNAP is a free and open source (GNU GPLv3) software used for processing of satellite products. By following this article you will install it on your Ubuntu virtual machine running on the EO-Lab cloud. The installation of a desktop environment is not required.
Prerequisites
No 1. Account
You need a EO-Lab hosting account with access to the Horizon interface: https://cloud.fra1-1.cloudferro.com/auth/login/?next=/.
No 2. Virtual machine with Linux distribution and access to /codede repository
You need to operate a Linux distribution VM with access to the /codede repository. In this case we are going to use Ubuntu 22.04 LTS and connect to it via ssh protocol (more about this here: How to connect to your virtual machine via SSH in Linux on EO-Lab)
The flavour eo2.2xlarge is sufficient for installing ESA SNAP (even with all possible toolboxes), but more advanced processing may require stronger flavours (especially when it comes to RAM usage).
Download and installation of ESA SNAP on Linux VM without desktop environment
We will use wget to download the latest release of SNAP. In this example, All Toolboxes version for Linux/Unix will be downloaded.
Installing wget and downloading SNAP installation file
sudo apt install wget #install wget if necessary
wget https://download.esa.int/step/snap/9.0/installers/esa-snap_all_unix_9_0_0.sh #download the installation file
The download process on the EO-Lab cloud should last no more than a couple of minutes. The installer, as of writing of this article, is a little bit over 1 GB.
Once the download is complete, please open the terminal in folder containing the .sh file. To make sure that .sh file is executable, please execute the following command. Then start the installation, process should start.
Starting SNAP installation
chmod +x esa-snap_all_unix_9_0_0.sh # changing permissions so the file can be executed
bash esa-snap_all_unix_9_0_0.sh # starts the installation # execute installation file
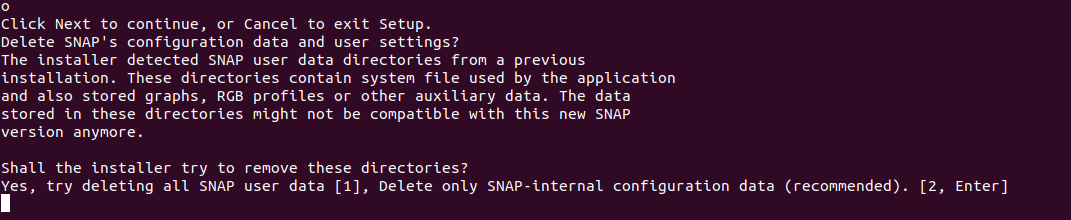
choose o, enter

Make sure that the default option Delete only SNAP-internal configuration data (recommended) is selected, to do so 2, Enter.
In it you can choose where you want to install this software. We will keep things simple and keep the default option, Enter.

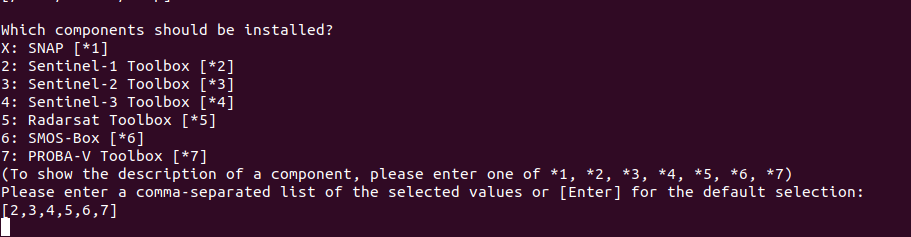
Toolboxes for different datasets are available here. To install all of them (recommended) just hit Enter
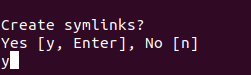
We will create symlinks, y, Enter
You can choose where you want to store symlinks. To keep the default option, you can simply press Enter.

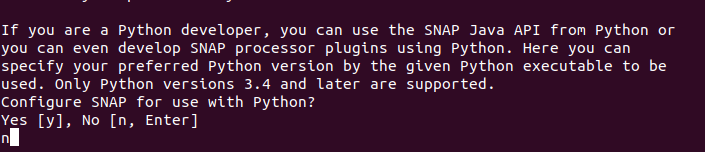
You will now be asked if you want to configure SNAP for use with Python. To configure conda python environment with specified python version, please check Coupling ESA SNAP to Python on an EO-Lab VM, so for now we will skip this part and choose n, Enter.
Please wait up to a couple of minutes until the installation is complete. Finally, you will be informed that installation process is finished. If you want to open SNAP immediately after installation please press y, Enter otherwise press n, Enter.

And that’s it, you have successfully installed SNAP on your virtual machine!