How to Backup an Instance and Download it to the Desktop on EO-Lab OpenStack Hosting
First, you will need to setup the OpenStack CLI environment on the computer to which you want to download your instance. Depending on the operating system you are using, follow one of the links below:
How to install OpenStackClient for Linux on EO-Lab
How to install OpenStackClient GitBash for Windows on EO-Lab
Assume that you are
logged into your EO-Lab hosting account with Horizon interface https://cloud.fra1-1.cloudferro.com/auth/login/?next=/ and that
you have created an instance called vm-john-01.
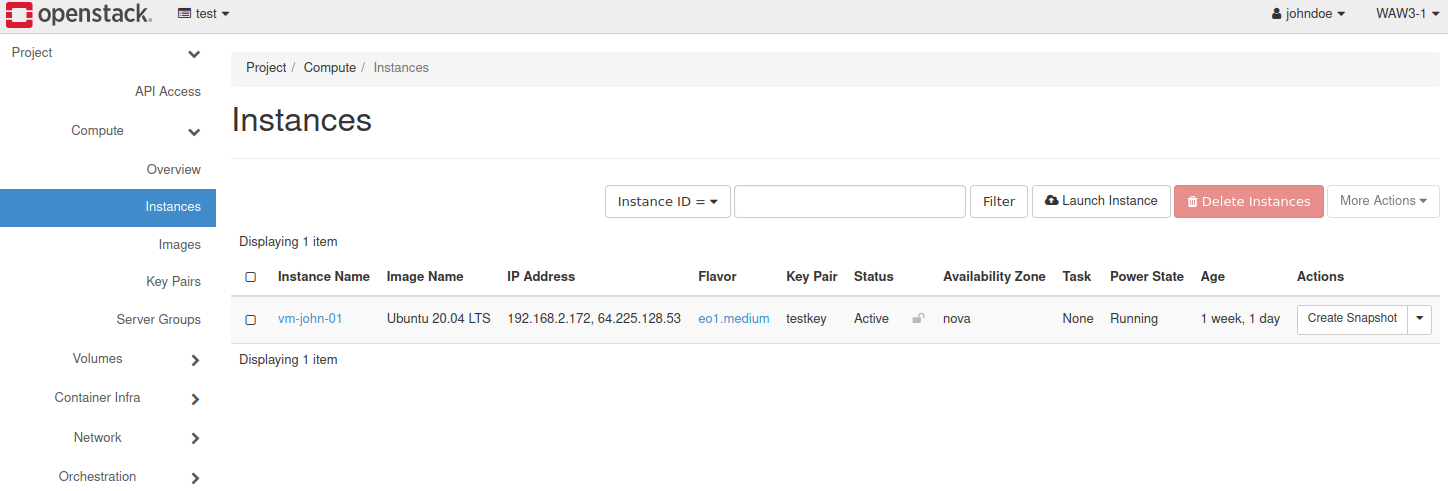
List Instances in Your Project
List instances in your project using the following CLI command:
user@ubuntu:~$ openstack server list
This will be the result:
ID |
Name |
Status |
Networks |
Image |
Flavor |
72170eb7-cee4-41a3-beea-c7d208446130 |
vm-john-01 |
ACTIVE |
test_network=192.168.2.172, 64.225.128.53 |
Ubuntu 20.04 LTS |
eo1.medium |
Create a Backup
Now you can create a backup from command line interface (CLI) in the terminal (replace 72170eb7-cee4-41a3-beea-c7d208446130 with the ID of your instance):
user@ubuntu:~$ openstack server backup create --name backup-01 72170eb7-cee4-41a3-beea-c7d208446130
Note
You can also add the –rotate<count> parameter to the above command if you want to have control over the number of stored backups:
user@ubuntu:~$ openstack server backup create --name backup-01 --rotate 2 72170eb7-cee4-41a3-beea-c7d208446130
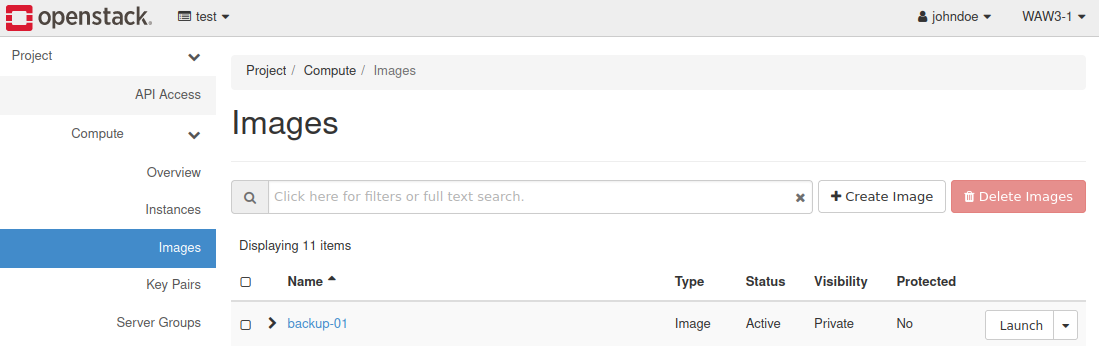
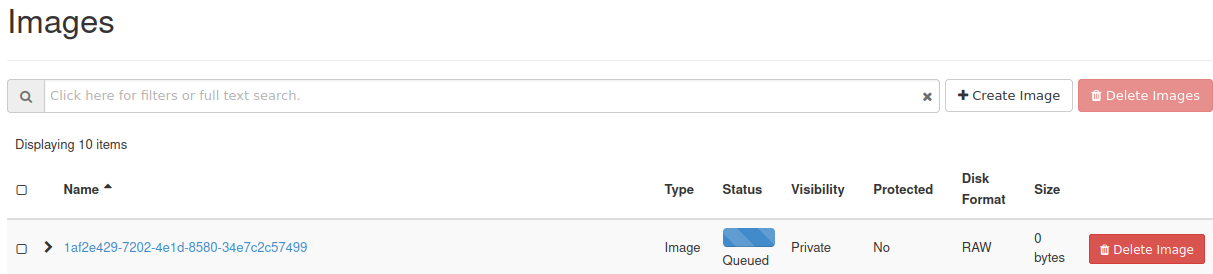
You can see the backup “backup-01” in https://horizon.cloudferro.com/project/images
or with CLI command:
user@ubuntu:~$ openstack image list --private
The result would be:
+--------------------------------------+-----------+--------+
| ID                                   | Name      | Status |
+--------------------------------------+-----------+--------+
| 747d720d-a6f4-4554-bf56-16183e5fb7fa | backup-01 | active |
+--------------------------------------+-----------+--------+
Download the Backup File
Disk image is a raw copy of the hard drive of your virtual machine. You can download it using the following command (replace 72170eb7-cee4-41a3-beea-c7d208446130 with the ID of your disk image):
user@ubuntu:~$ openstack image save --file backup-on-the-desktop 747d720d-a6f4-4554-bf56-16183e5fb7fa
Upload the Backed Up File
After that, you can upload backup of your file using the Horizon dashboard:
Go to Project → Compute → Images.
Click on “Create Image”.
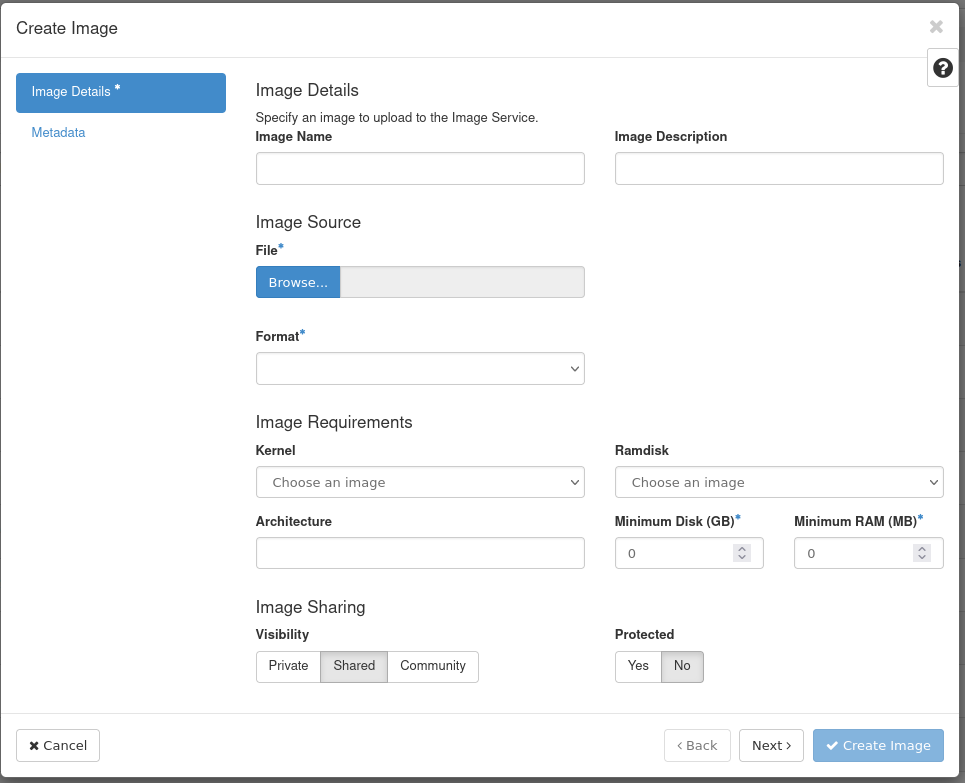
On this panel you must insert image name, choose backup file and backup format. Next click on “Create Image”.
You can also use CLI commands to upload the backup file:
user@ubuntu:~$ openstack image create --file path/to/backup <backup_name>