How To Attach Volume To Windows VM On EO-Lab
In this tutorial, you will attach a volume to your Windows virtual machine. It increases the storage available for your files.
What We Are Going To Cover
Creating a new volume
Attaching the new volume to a VM
Preparing the volume to use with a VM
Prerequisites
No. 1 Hosting
You need a EO-Lab hosting account with Horizon interface https://cloud.fra1-1.cloudferro.com/auth/login/?next=/.
No. 2 Windows VM
You must operate a Microsoft Windows virtual machine running on EO-Lab FRA1-1 cloud. You can access it using the webconsole (How to access the VM from OpenStack console on EO-Lab) or through RDP. If you are using RDP, we strongly recommend using a bastion host for your security: Connecting to a Windows VM via RDP through a Linux Bastion Host port forwarding on EO-Lab.
Step 1: Create a New Volume
Login to the Horizon panel available at https://cloud.fra1-1.cloudferro.com/auth/login/?next=/.
Go to the section Volumes -> Volumes:
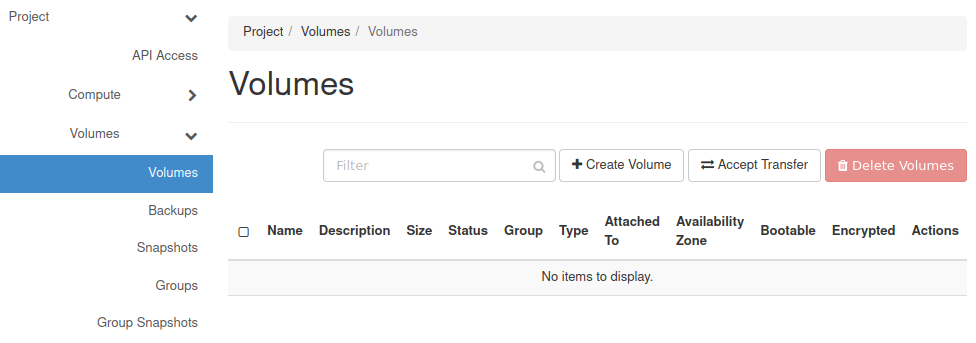
Click Create Volume.
The following window should appear:
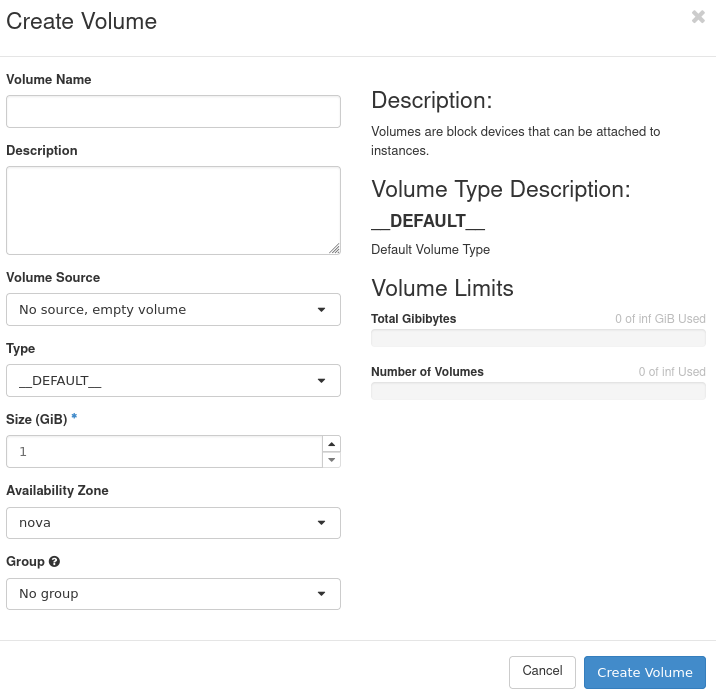
In it provide the Volume Name of your choice.
Choose the Type of your volume - SSD or HDD.
Enter the size of your volume in gigabytes.
When you’re done, click Create Volume.
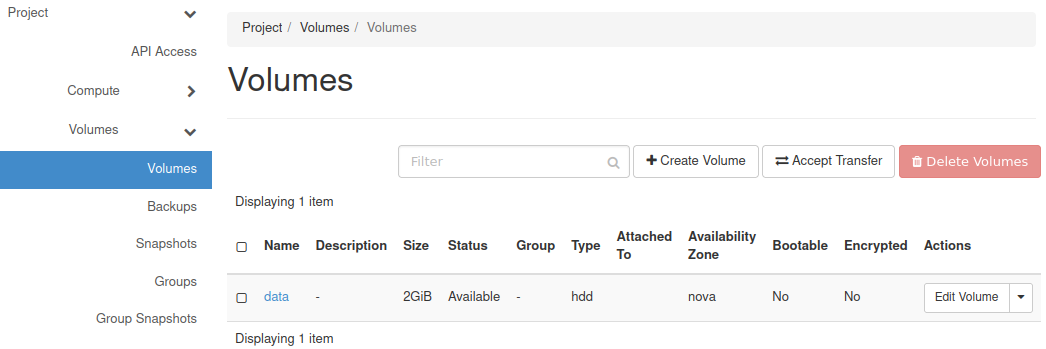
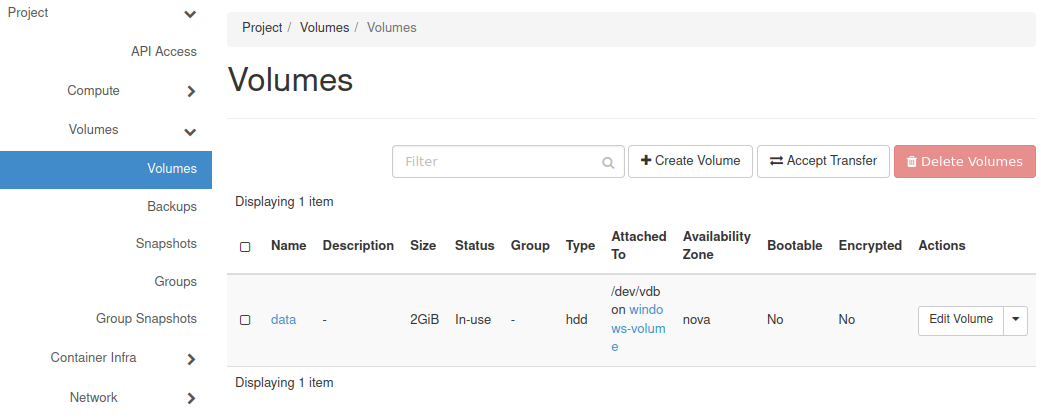
You should now see the volume you just created. In our case it is called data:
Step 2: Attach the Volume to VM
Now that you have created your volume, you can use it as storage for one of your VMs. To do that, attach the volume to a VM.
Shut down your VM if it is running.
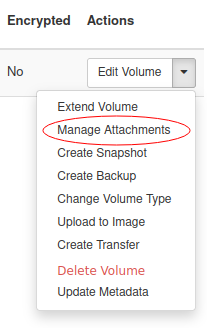
In the Actions menu for that volume select the option Manage Attachments:
You should now see the following window:
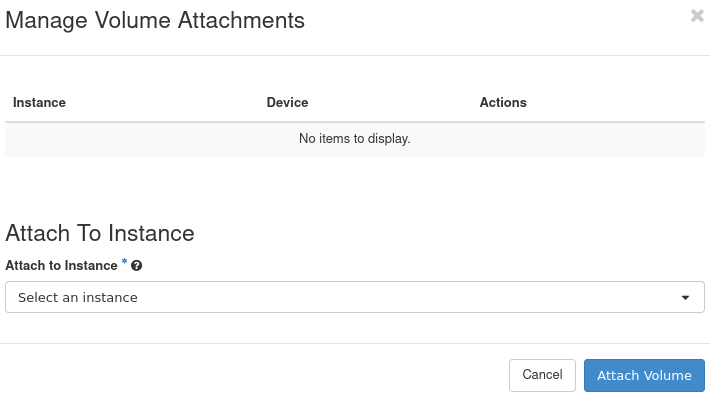
Select the virtual machine to which the volume should be attached from the drop-down menu Attach to Instance and click Attach Volume.
Your volume should now be attached to the virtual machine:
Step 3: Format the Drive
Start your VM and access it using RDP or the webconsole (see Prerequisite 2). Right-click the Start button and from the context menu select Disk Management. You should receive the following window:
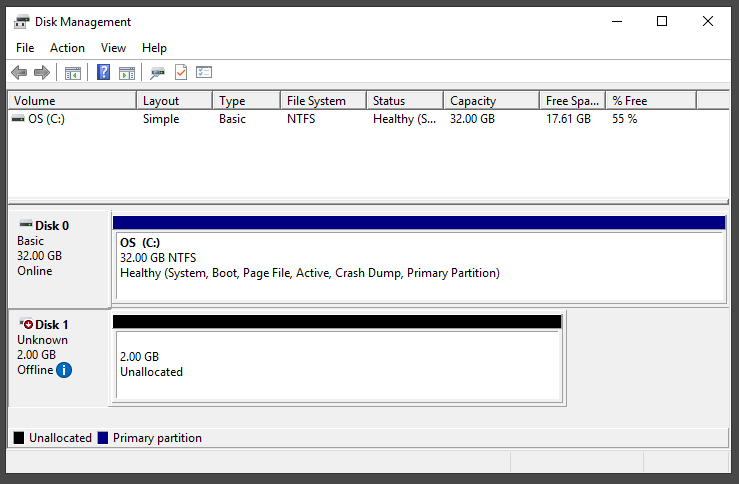
In its lower section are the drives currently connected to your virtual machine:
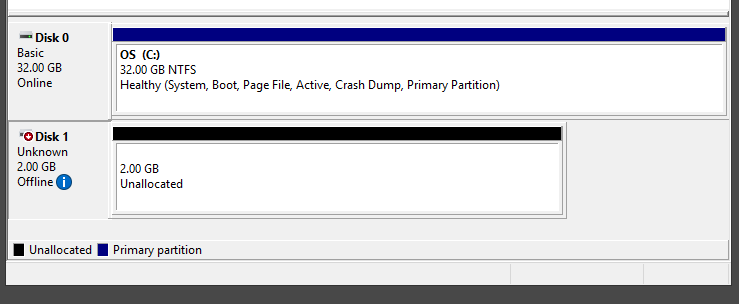
In this case (on the screenshot above), there are two drives:
the system drive with 32 GB space
the attached volume with 2 GB of unallocated space
Right-click the section of the window in which the label Not Initialized exists:
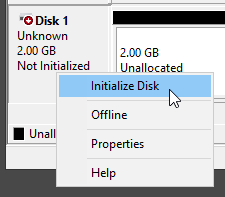
From the context menu select Initialize Disk. You should receive the following window:
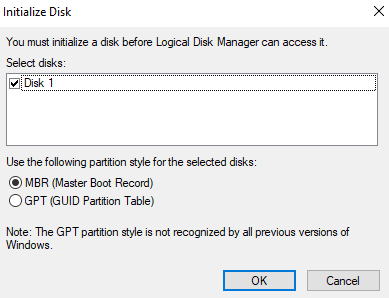
In this window you are asked which partition style do you want to use: MBR or GPT. If your volume has 2 TB or less space and you intend to use 4 primary partitions or less, you can use MBR, but if your requirements are higher, you should use GPT.
Choose either of these options and click OK.
Right-click the Unallocated space:
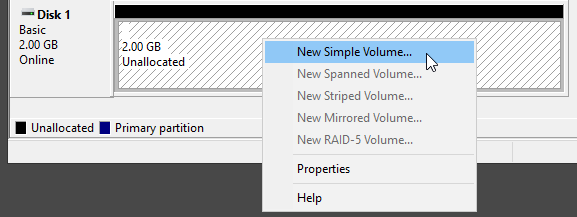
Choose New Simple Volume.
You should receive the following window:
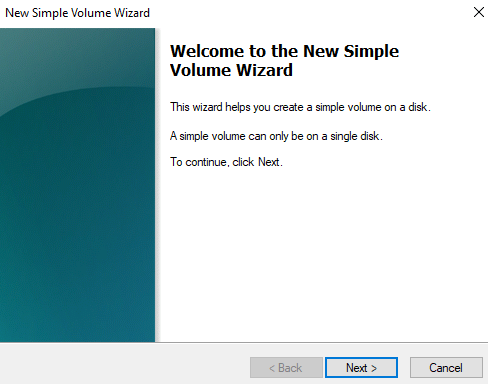
Click Next >. The following window should appear:
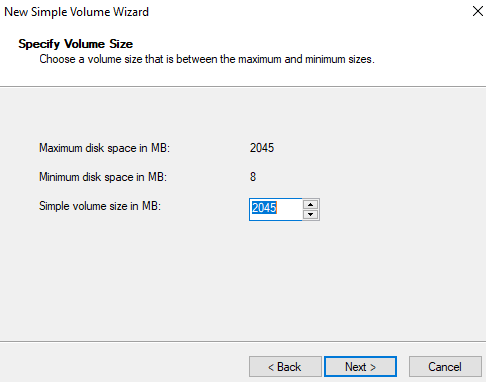
If you want your volume to have only one partition, leave the default value in the text field. Otherwise, enter the size of the first partition of your volume.
You can choose to either assign a drive letter to your drive or mount it in an empty folder.
If you want to assign a drive letter to that volume, choose the Assign the following drive letter: radio button. From the drop-down menu to its right choose a letter to which you wish to attach your volume. Confirm your choice by clicking OK.
If you want to mount the volume to an NTFS folder on your drive, choose Mount in the following empty NTFS folder:. Click Browse… and in the Browse for Drive Path window choose an empty folder in which you wish to mount it. Confirm your choice by clicking OK.
The following window should now appear:
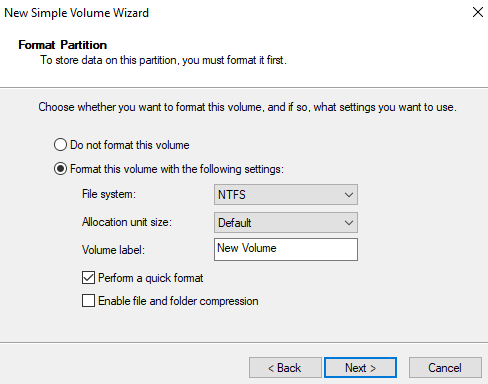
Here you can choose the formatting settings. Keep the radio button Format this drive with the following settings: selected. You can now enter the name which Windows will show for your new volume - it can be different then the one you typed in Step 1. Keep Perform a quick format checkbox selected. Click Next >. You should get the following window containing the summary of your chosen settings:
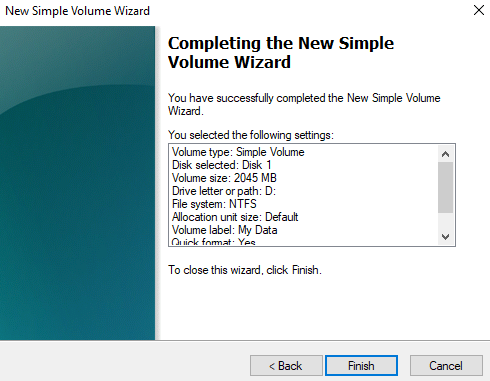
Click Finish.
Once the formatting process is complete, you should see appropriate information about your volume in the Disk Management window:

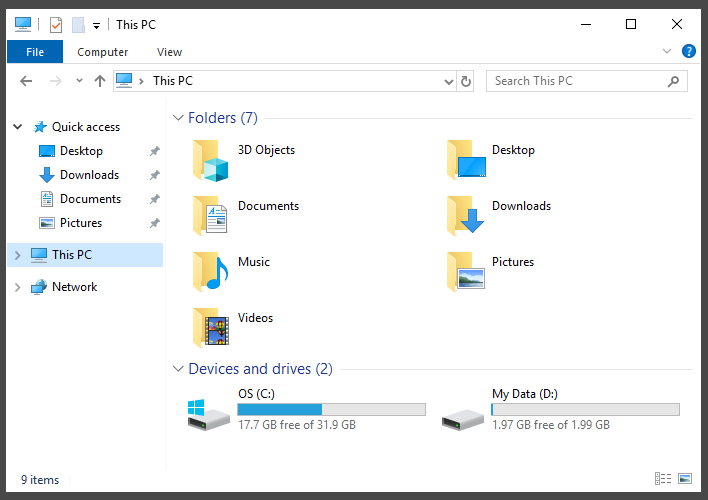
Your volume should now be mounted. If you chose to assign a drive letter, it should be visible in the This PC window:
If you want to create more partitions, repeat right-clicking the Unallocated space and completing the wizard as previously explained.
What To Do Next
Once you have gathered some data on your volume, you can create its backup, as explained in this article:
How to Create Backup of Your Volume From Windows Machine on EO-Lab